



Draw one close flowering branch
This lesson shows you how to draw one close cherry-blossom branch in eight stages. You will make a large front-facing flower, a smaller flower turned away from you, two closed buds and the branch that supports them. The final drawing stays mostly line-based, so you can concentrate on petal shape, overlap and attachment rather than colour or dense shading.
The lesson is suitable for a beginner. Allow about 35–50 minutes, but treat that as an untested estimate rather than a target. Work slowly enough to check each new curve before adding the next one. Every line in the stage images remains in the finished drawing; there is no hidden construction or scheduled cleanup stage.
What you will need
- A pointed HB pencil. A No. 2 classroom pencil or a 0.5–0.7 mm mechanical pencil works too.
- Smooth white or warm-white paper. An unlined sketchbook or a sheet of printer paper is fine for practice.
- A clean eraser for replacing the newest faulty curve. You will not need to erase the whole construction later.
- A sharpener if you are using a wooden pencil.
- Optional scrap paper for practising one shallow petal notch and one tapered branch fork.
You do not need a ruler, compass, tracing sheet, marker, coloured pencil or blending tool. Keep the pencil pressure light and even. The branch edges can be slightly firmer because they act as attachment landmarks, but they are not shaded bands.
Before you start
Turn the paper vertically. The main bloom sits a little left of centre and just below halfway down the sheet. Its separate placement cue marks that centre at about x44% and y50%. Leave open paper above-right for the turned flower and upper bud, and reserve a diagonal corridor from lower-left to upper-right for the branch.
The finished study uses five petals in each open flower. That is a practical observational choice, not a rule for every flowering cherry: an Arnold Arboretum guide notes that most cherries have five petals, while some cultivated forms have many more.[1] The same guide identifies the petal indentation, bud, pedicel, calyx, sepal and stamens as useful visible parts.[1] Here, the “stalk” in the instructions is the short pedicel supporting a flower or bud.
1. Place the main bloom centre and five folds
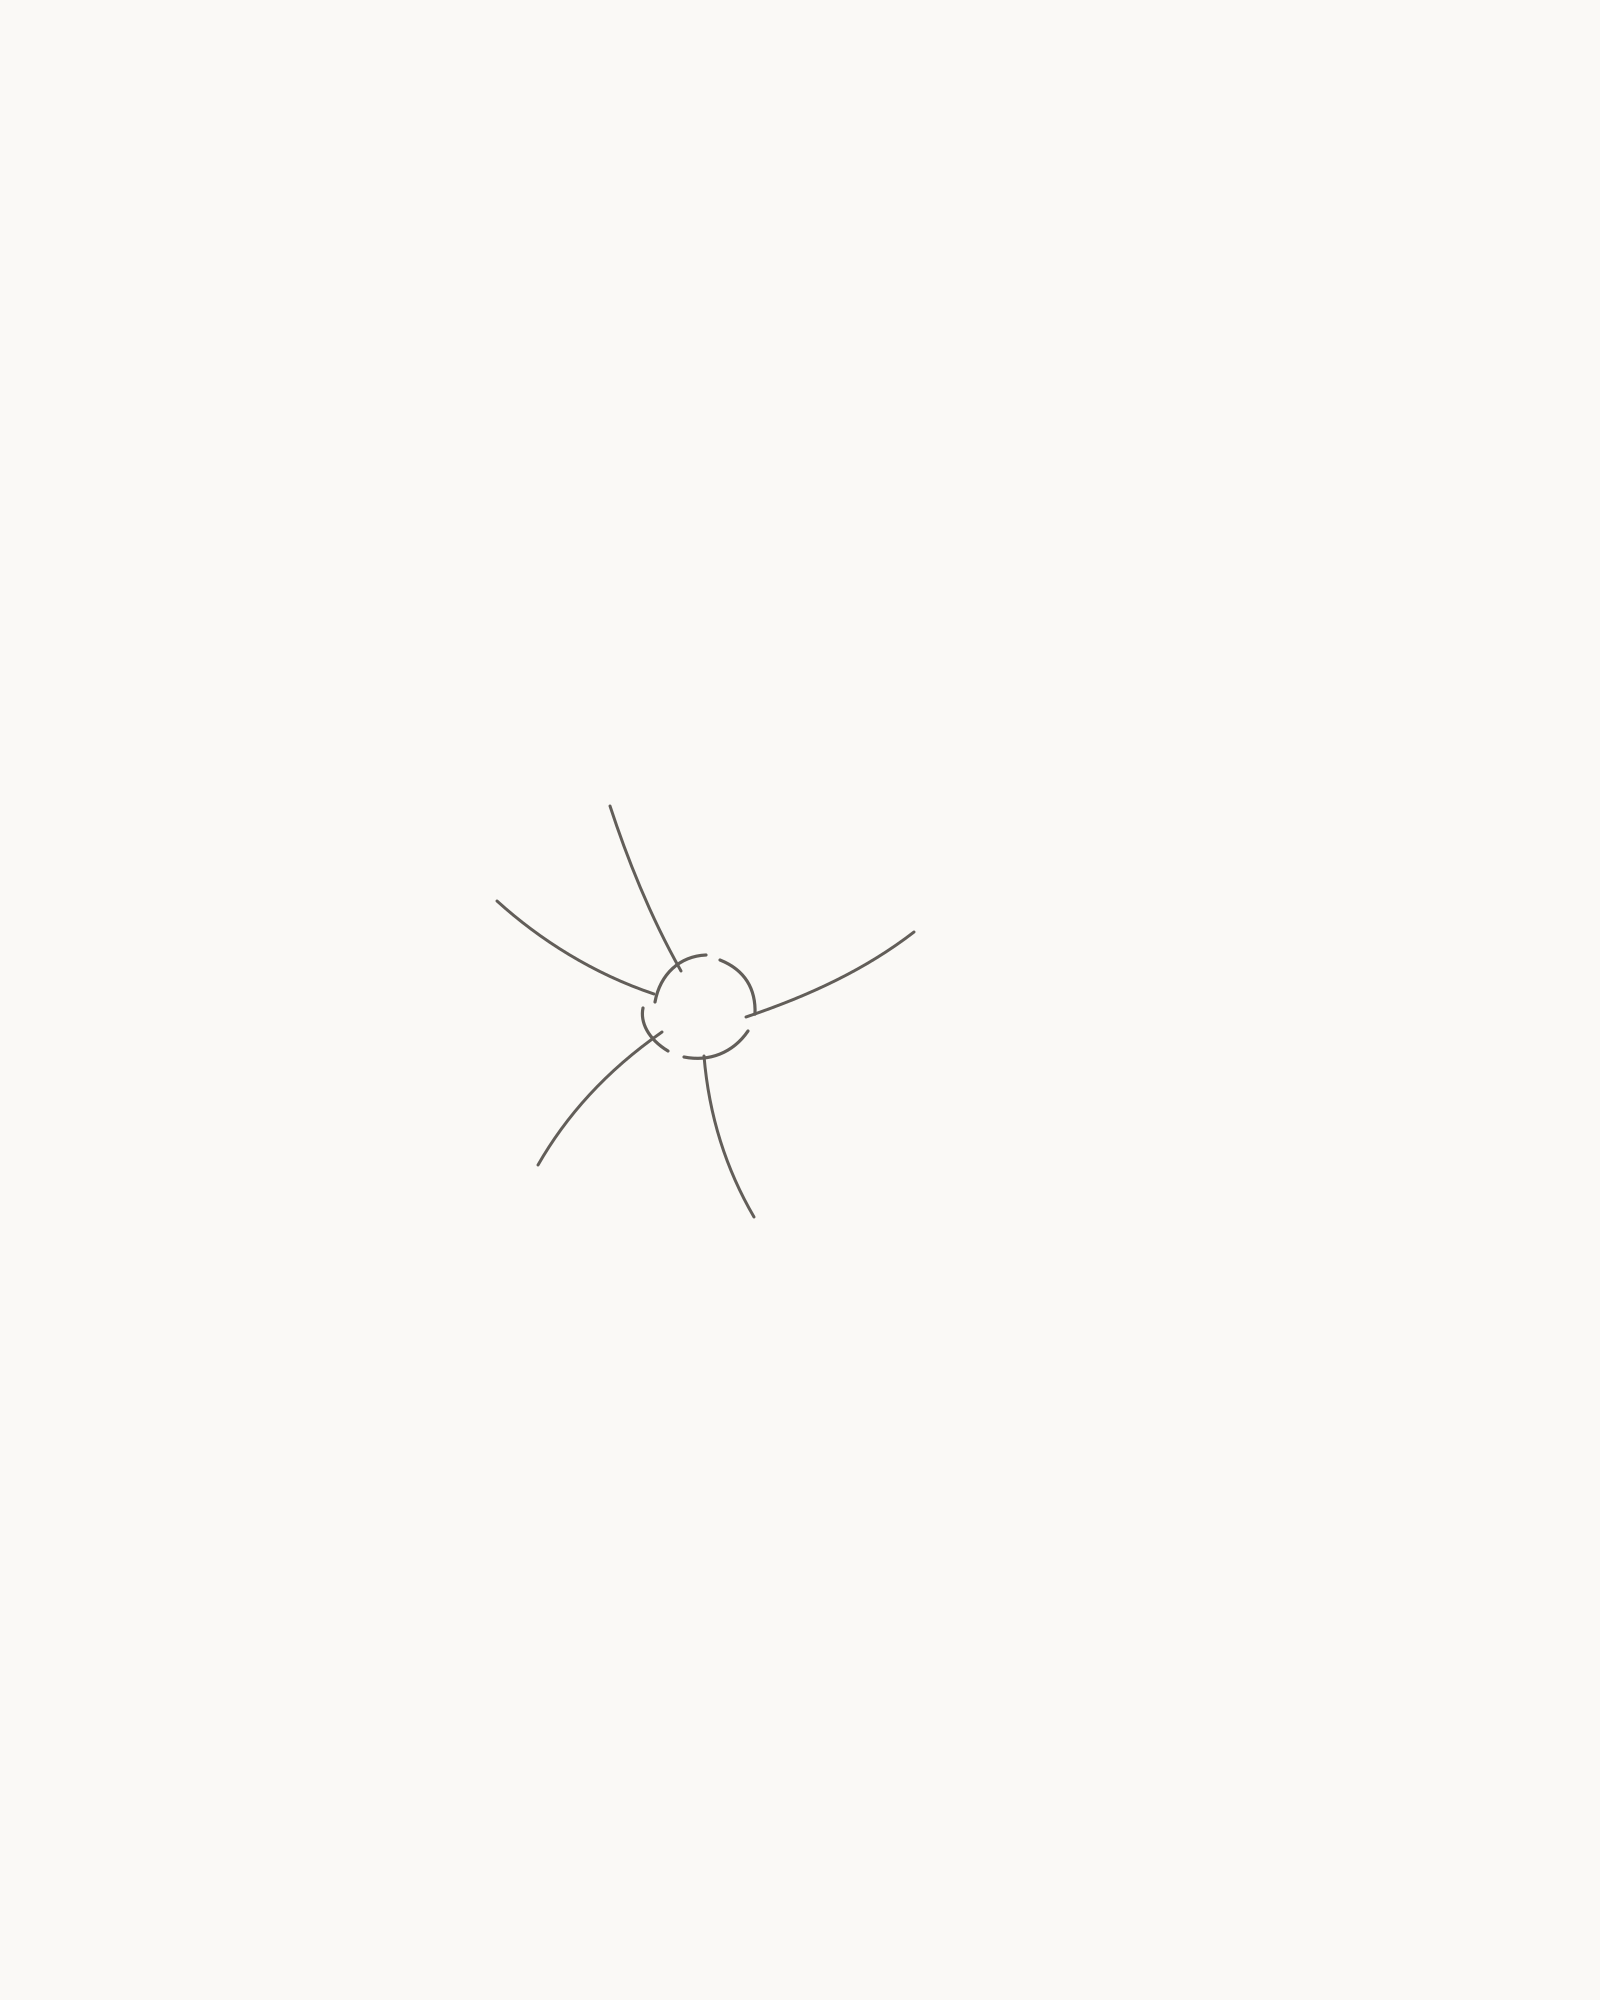
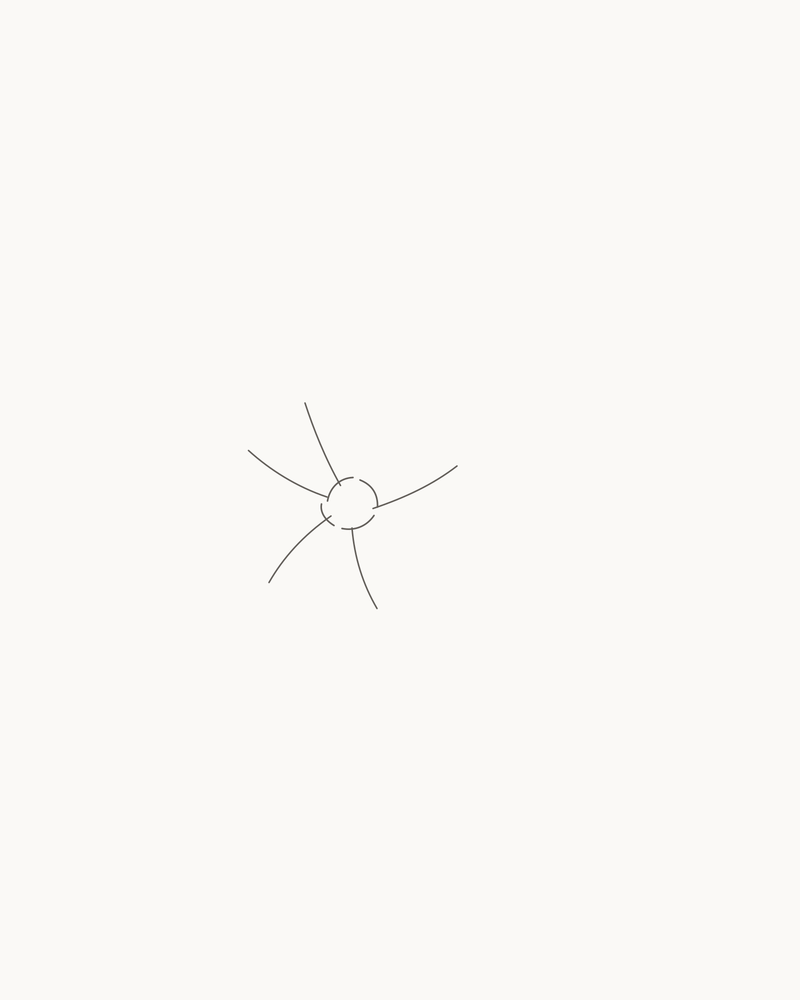
Stage 1 of 8. Five permanent directions establish the main flower. 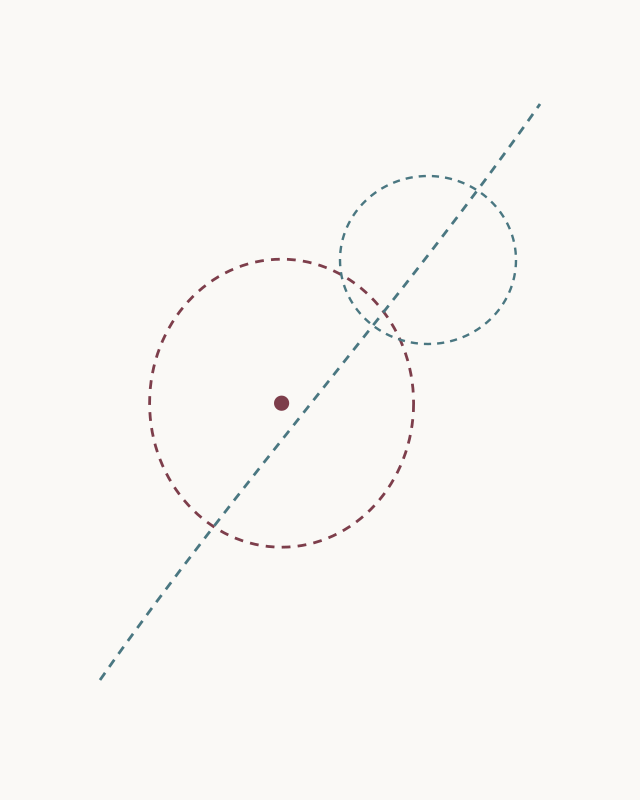
Placement cue: locate the main centre near x44% and y50%. Reserve the upper-right bloom and diagonal branch corridor. Leave every cue mark off the drawing. Begin at the point shown by the separate placement cue, around x44% and y50% of the page. Draw a small broken circle rather than a dark closed button. Leave tiny openings between its four curved sections.
From that centre, add five fine, unequal lines. Work clockwise: upper-left, left, lower-left, lower-right and right. These are not temporary spokes. Each one becomes a shallow fold inside a petal, so keep it shorter than the petal you imagine around it. Let the lower-right line be a little longer and avoid equal spacing.
Look for this before moving on: you can count five light directions around one open centre, and there is enough blank paper around them for a flower roughly one-third of the page width.
If it goes wrong: replace only the newest fold. If the group looks like a wheel, shorten one line and alter one gap; do not darken the centre to hide the symmetry.
2. Build five notched main petals
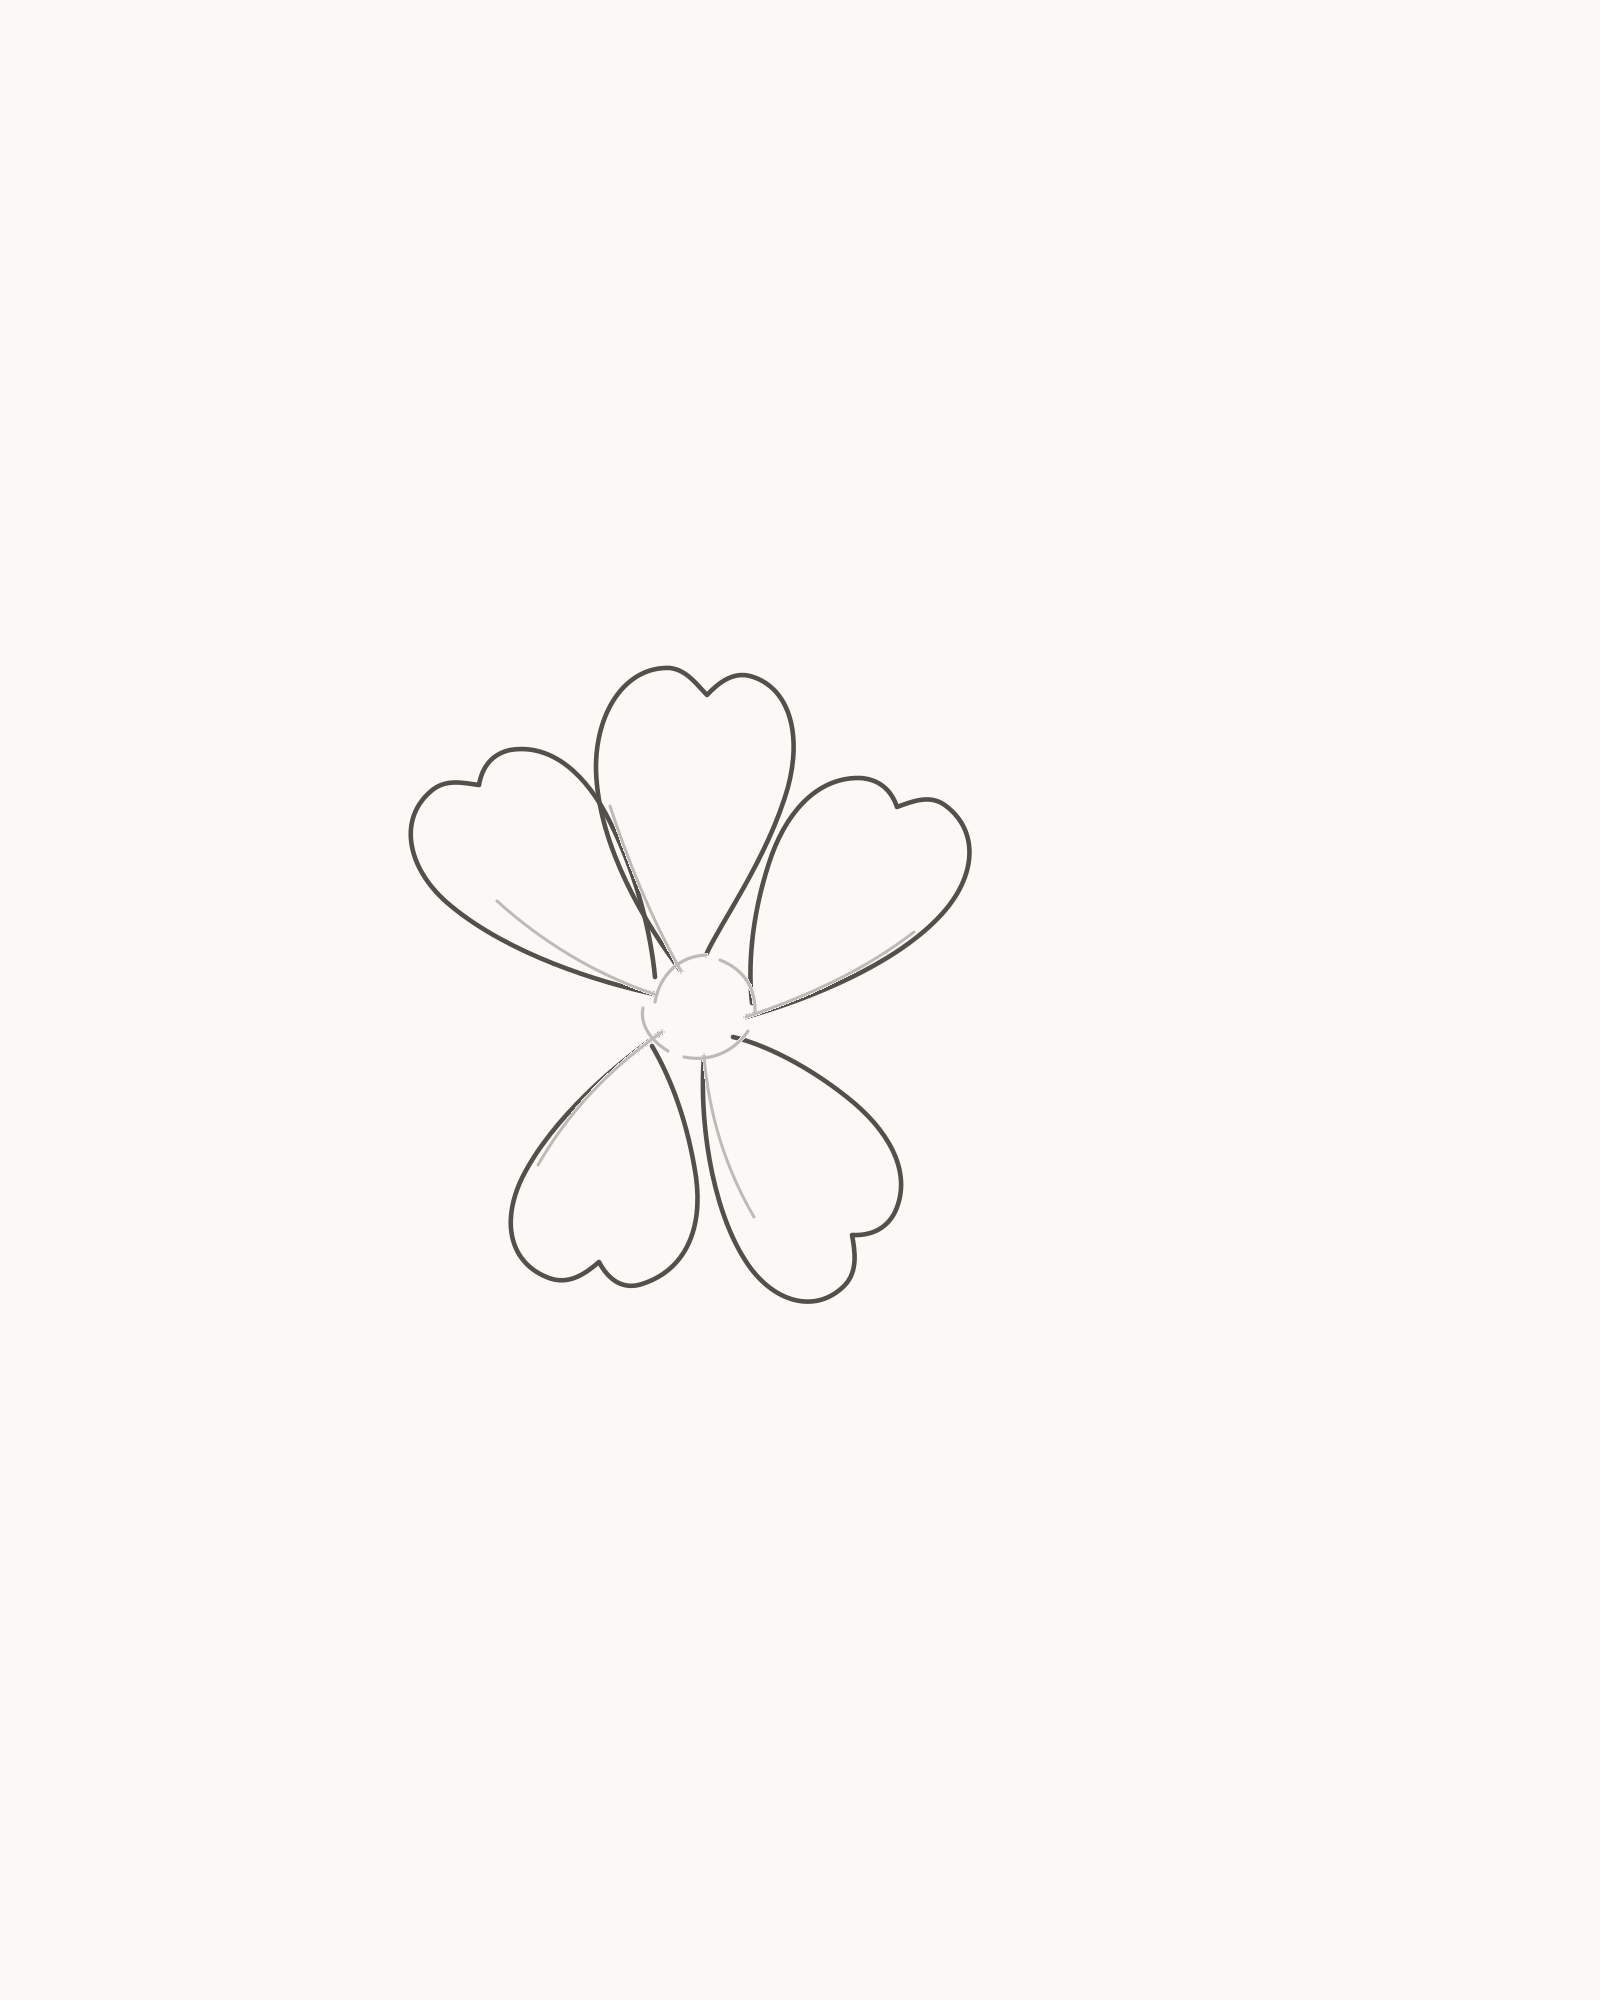
Stage 2 of 8. Five unequal notched petals close the front-facing bloom. - Upper-left petal
- Left petal
- Lower petals
- Narrower right petal
Draw the petals clockwise, beginning at the upper-left fold. For each petal, leave the centre along one side of its fold, widen the shape gradually, make one shallow notch at the outer edge, then return towards the next fold. The notch is a small change of direction, not a deep heart shape.
Keep the petals unequal. The lower petal is broadest; the upper-right petal is narrower. Where a nearer petal meets a neighbour, stop its return at the accepted edge instead of drawing through it. The permanent folds from Stage 1 remain visible inside the new outlines.
Look for this before moving on: exactly five petals close around the same centre. Their notches are shallow, their widths differ and no return line crosses a neighbouring petal.
If it goes wrong: erase only the newest outer curve between its two stable endpoints. Replace a deep V with a shallow dip, or move one side of a petal inward; do not retrace all five petals.
3. Place the turned bloom framework
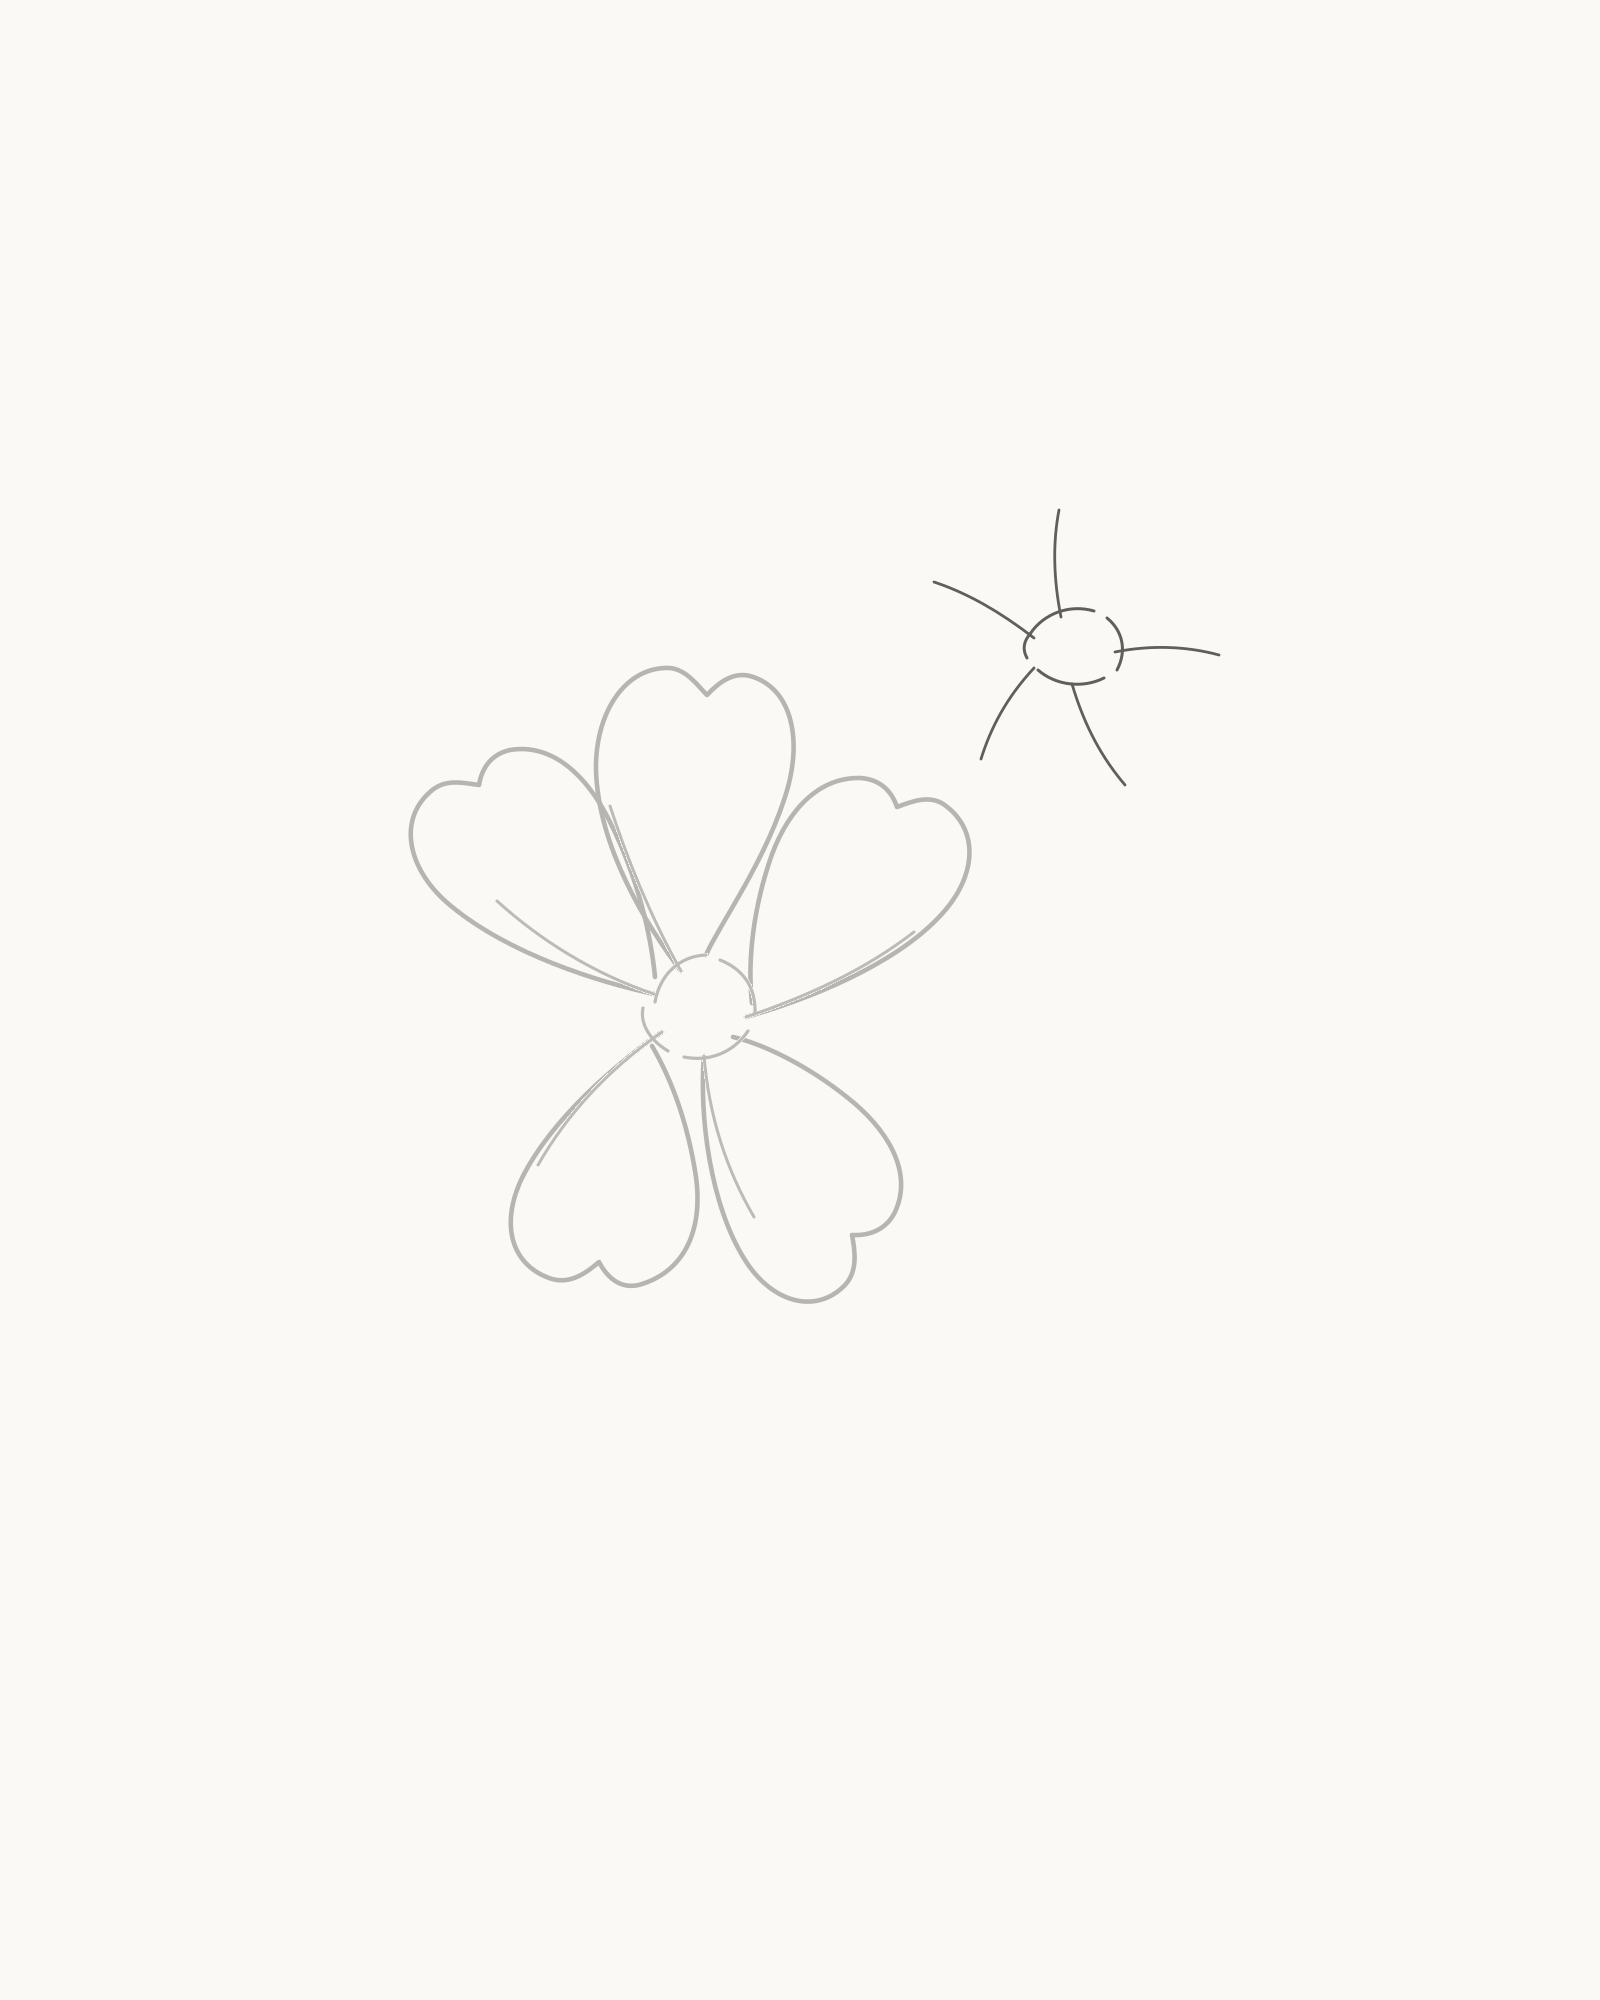
Stage 3 of 8. A compressed framework prepares a second viewpoint. Move to the open space above-right of the main flower. Draw a smaller, compressed broken oval for the second centre. It should be wider than it is tall.
Add five fine axes in this order: a short narrow rear direction, upper-left, right, lower-left and a longer lower-front direction. The group should not be a scaled copy of Stage 1. Its compressed centre and unequal directions are what prepare the flower to turn away from you.
Look for this before moving on: the second framework is clearly smaller, sits above-right and still has five countable directions around one flattened centre.
If it goes wrong: replace only the newest axis or one section of the oval. If it looks front-facing, shorten the rear direction and widen the angle between the two lower directions.
4. Build five turned petals
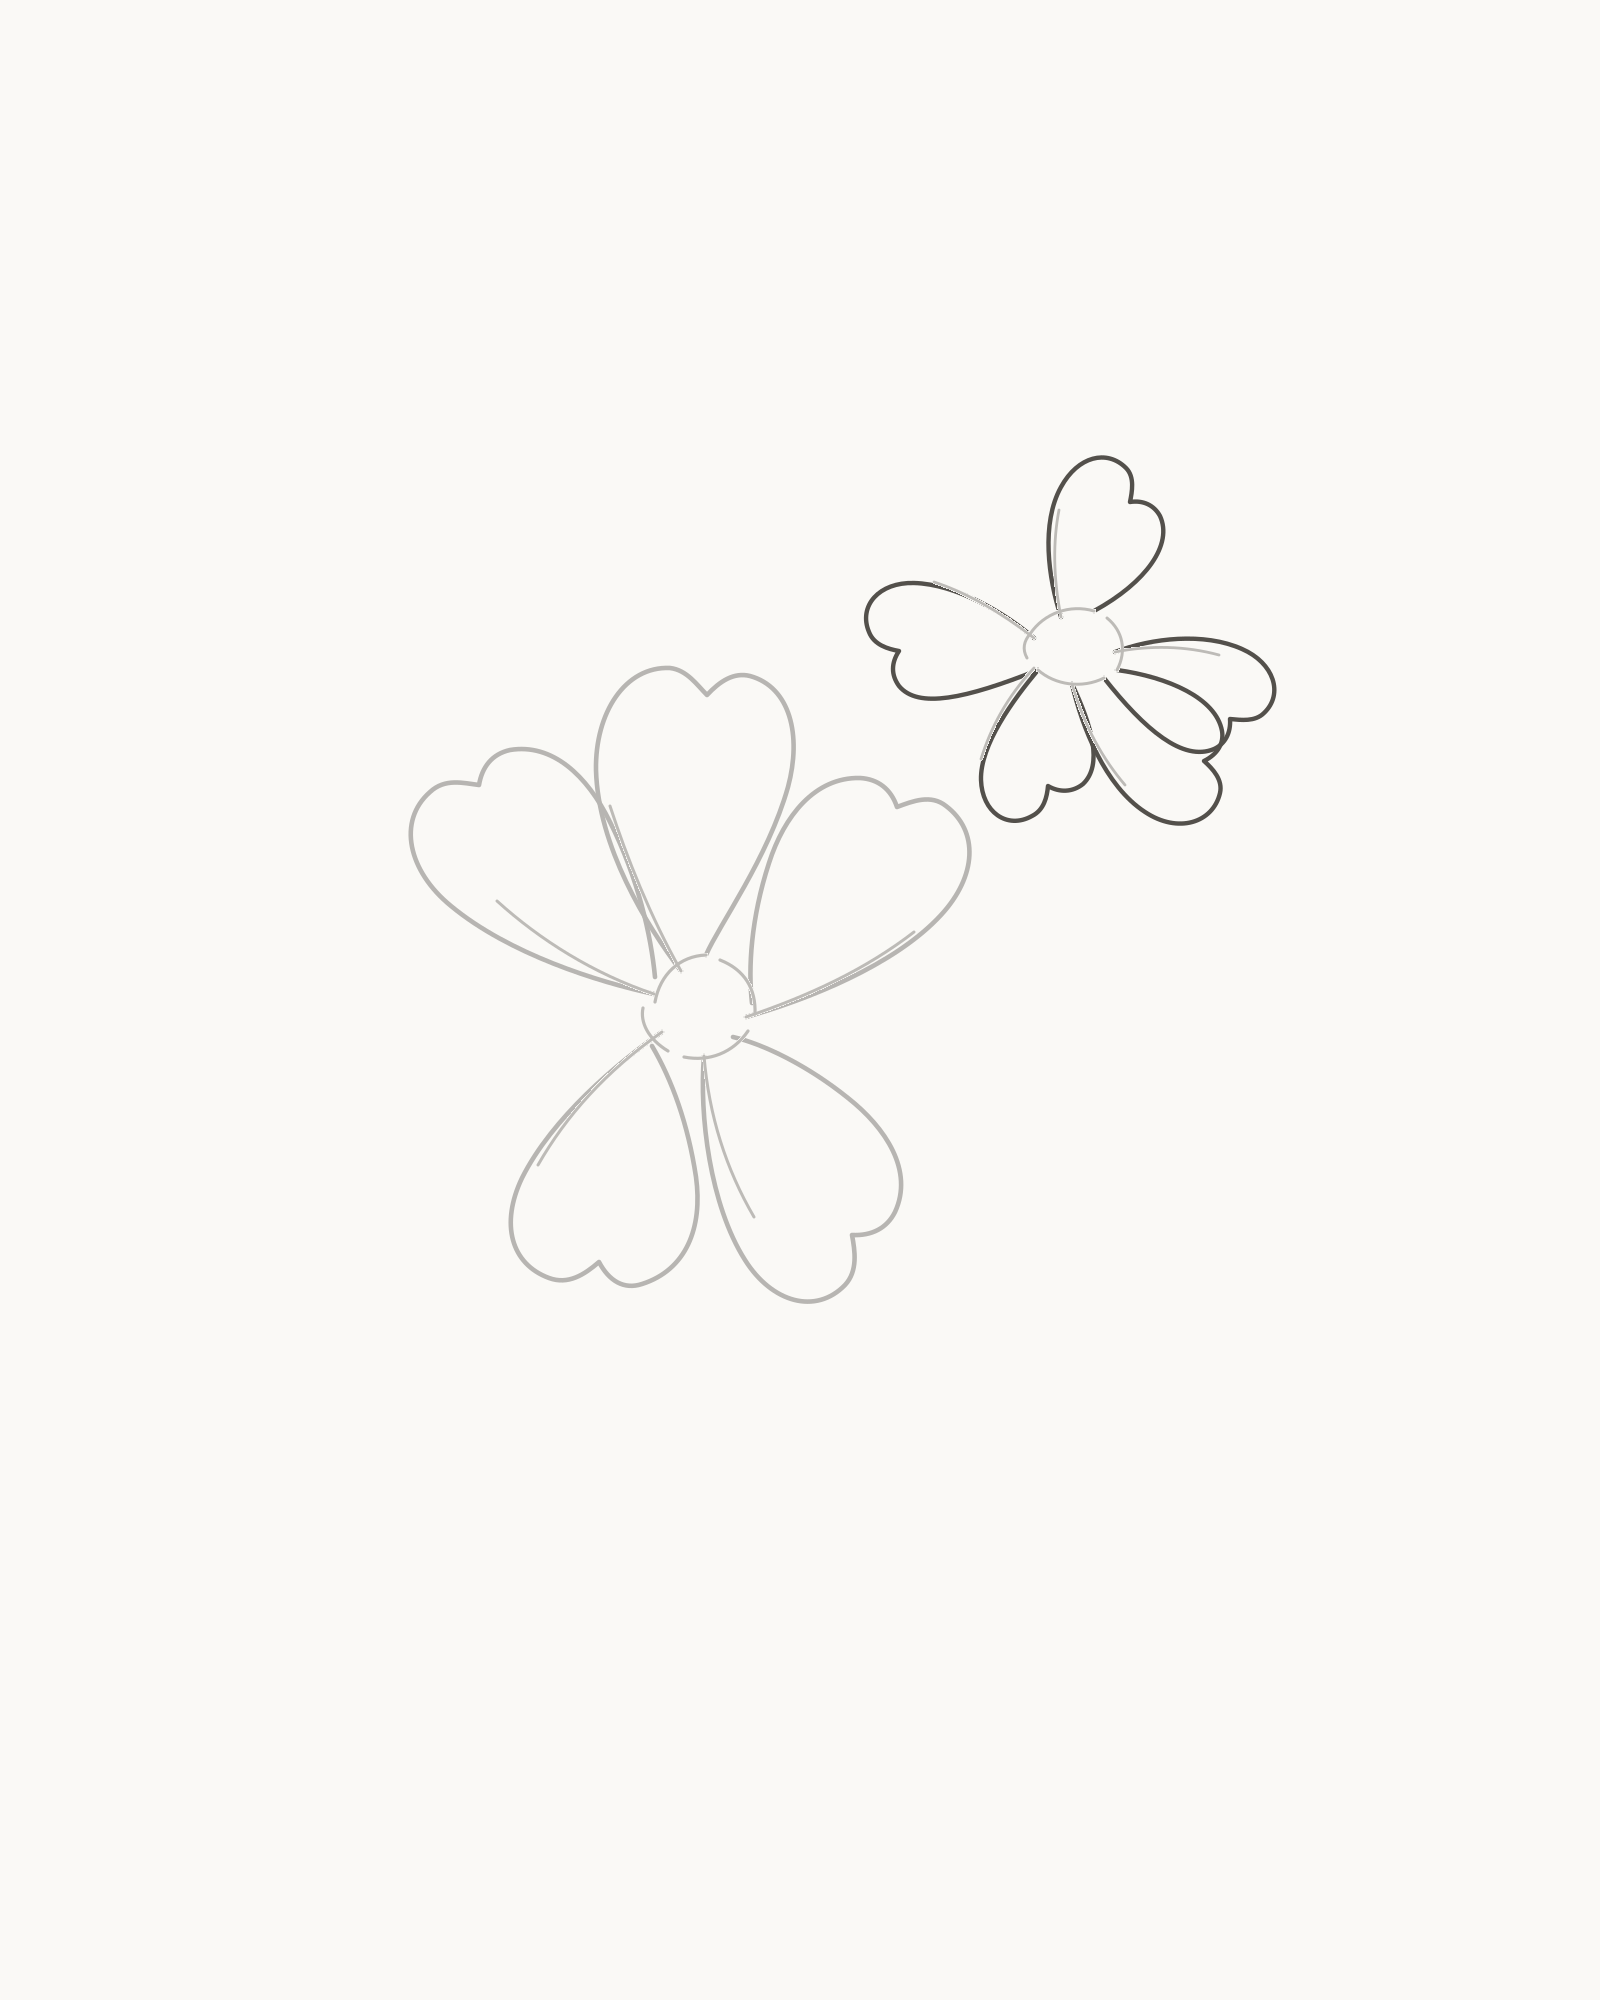
Stage 4 of 8. Unequal depth makes the second flower turn away. - Narrow rear petal
- Upper-left petal
- Right-side petal
- Lower petals
Work in visible depth order. Draw the narrow rear petal first, followed by the upper-left and right-side petals. Add the lower-left petal, then finish with the broad lower-front petal.
Every petal still has one shallow outer notch, but do not repeat the main bloom's widths. The rear petal is narrow and partly hidden. The lower-front petal is broad and overlaps the ends of the two side petals. Stop each hidden return when it reaches the nearer form.
Look for this before moving on: you can count five petals, yet the narrow rear petal and broad front petal make this blossom feel turned rather than copied.
If it goes wrong: redraw only the newest petal. Widen the lower-front petal or shorten the rear one before adding more lines; do not use shading to force the angle.
5. Add two unequal closed buds
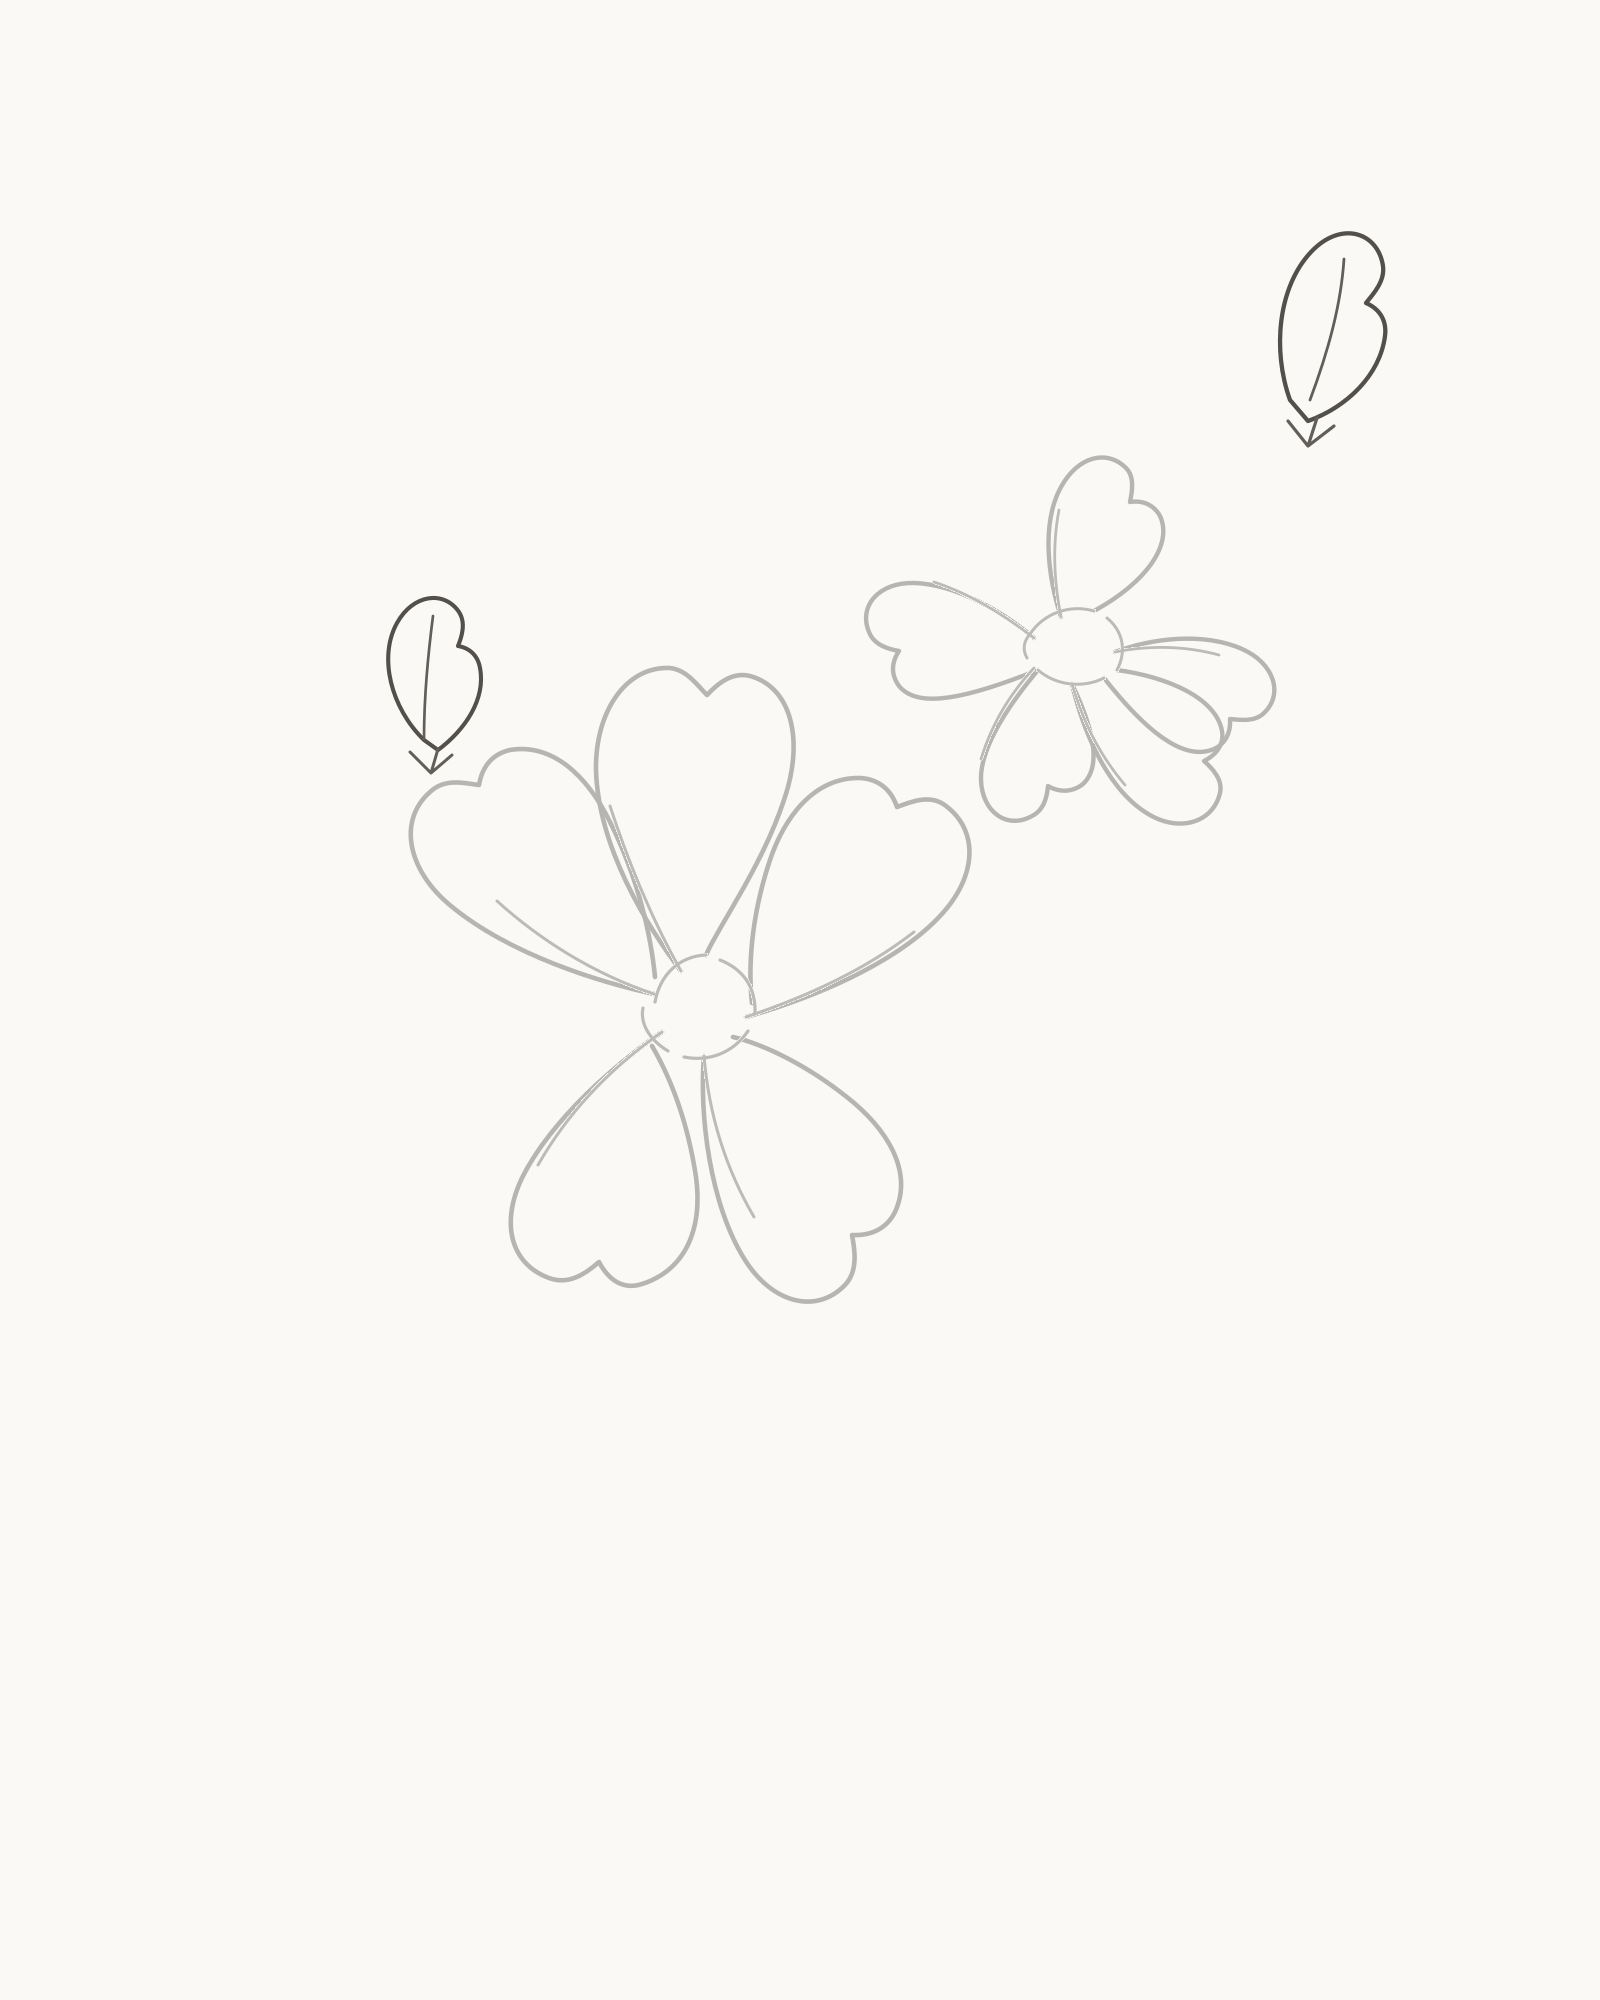
Stage 5 of 8. Two differently tilted buds contrast with the open flowers. - Upper-right bud
- Its centre seam
- Smaller left bud
- Three-tip collars
Place the larger bud above-right of the turned flower. Draw a tapered teardrop with a small notch at its tip, then add one fine seam inside it. At the base, add a compact collar with three short sepal tips.
Repeat the idea for a smaller bud to the left of the main bloom, but change its tilt and width. Draw the upper-right bud first and the left bud second. They should not look mirrored. Keep each seam inside its bud and leave the collar open enough to receive a stalk.
Look for this before moving on: two closed forms differ in size, angle and width; each has one seam and a small three-tip collar at its base.
If it goes wrong: replace only the faulty bud edge or collar tip. If a bud resembles a leaf, make its base narrower and its outer tip more clearly notched rather than adding veins.
6. Connect the branch and four stalks
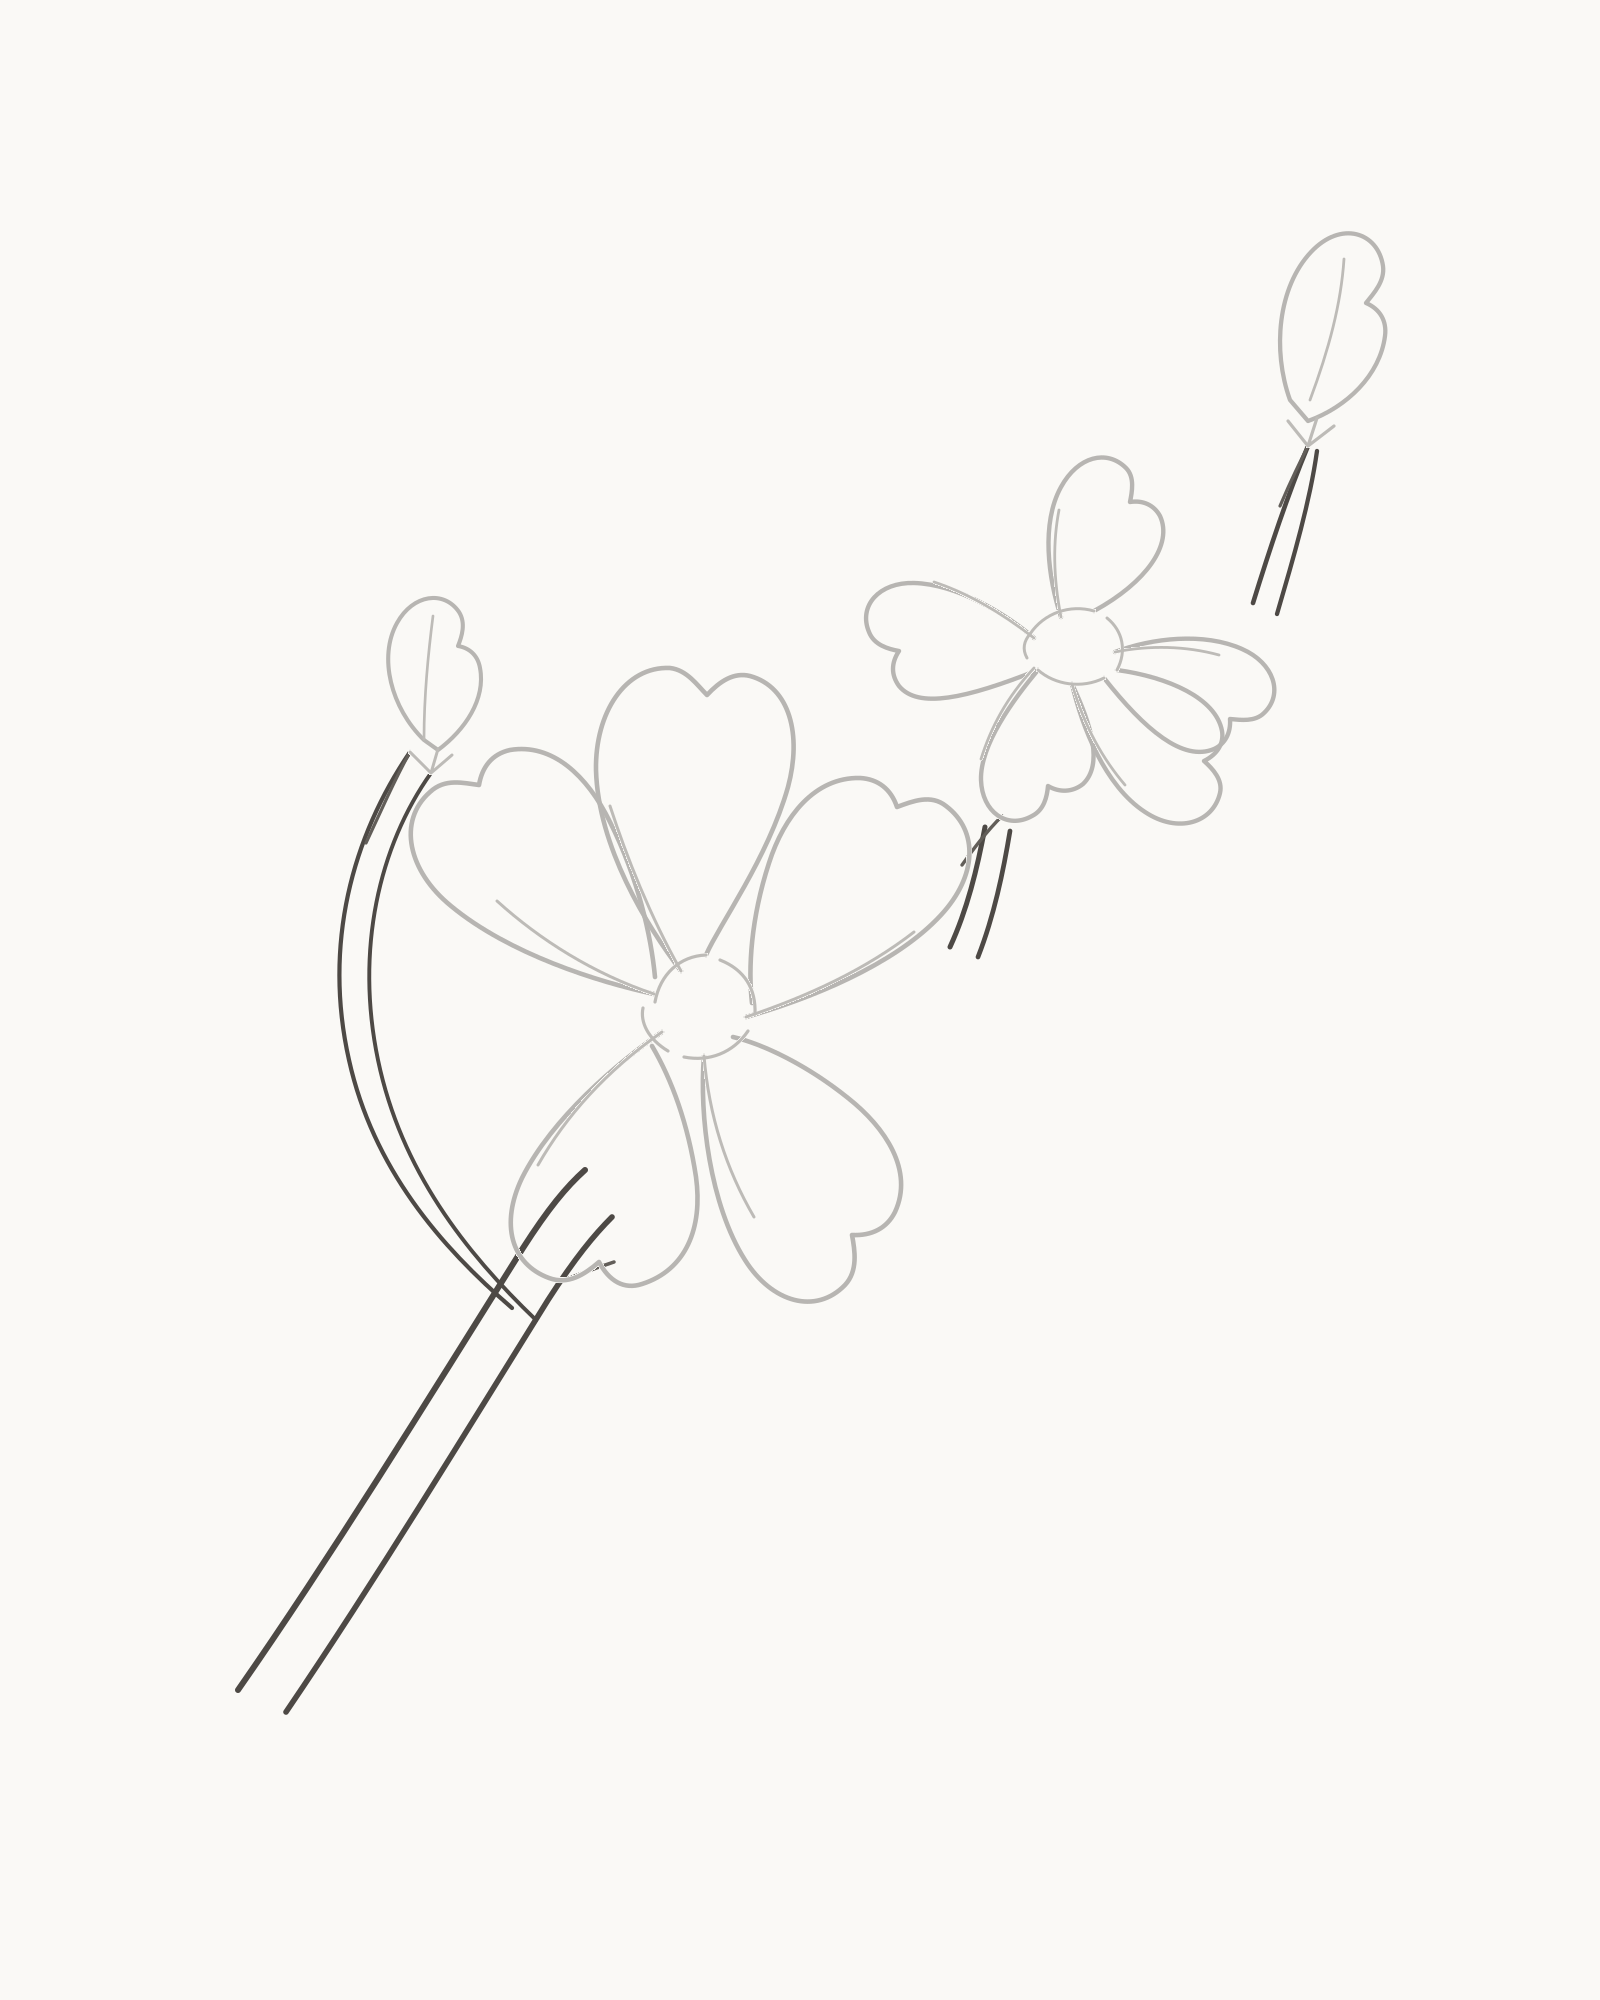
Stage 6 of 8. Visible branch sections support every flower and disappear behind petals. - Main branch edges
- Left fork
- Inter-flower sections
- Four short stalks
Build the support from lower-left to upper-right. Draw the two edges of the main branch first, letting them taper as they rise. Add the left fork next, curving it around the outside of the main flower towards the smaller bud. Then add the short visible branch sections between the two blooms and beyond the turned bloom towards the upper bud.
Now place four short stalks: one ending at the lower edge of the main flower, one at the turned flower, one at the upper bud's collar and one at the left bud's collar. A branch or stalk disappears when it reaches a nearer flower and resumes only outside that silhouette. This is why the branch is shown in visible sections; no line should pass through the open paper inside a petal.
Look for this before moving on: all four forms belong to one tapered diagonal support. Every visible stalk reaches a flower edge or calyx cleanly, and no branch line crosses a petal interior.
If it goes wrong: erase only the newest branch segment between its two stable endpoints. Move a tangent contact slightly inward towards the calyx or stop a line sooner at the petal edge; never thicken the junction into a black knot.
7. Add seventeen restrained stamens
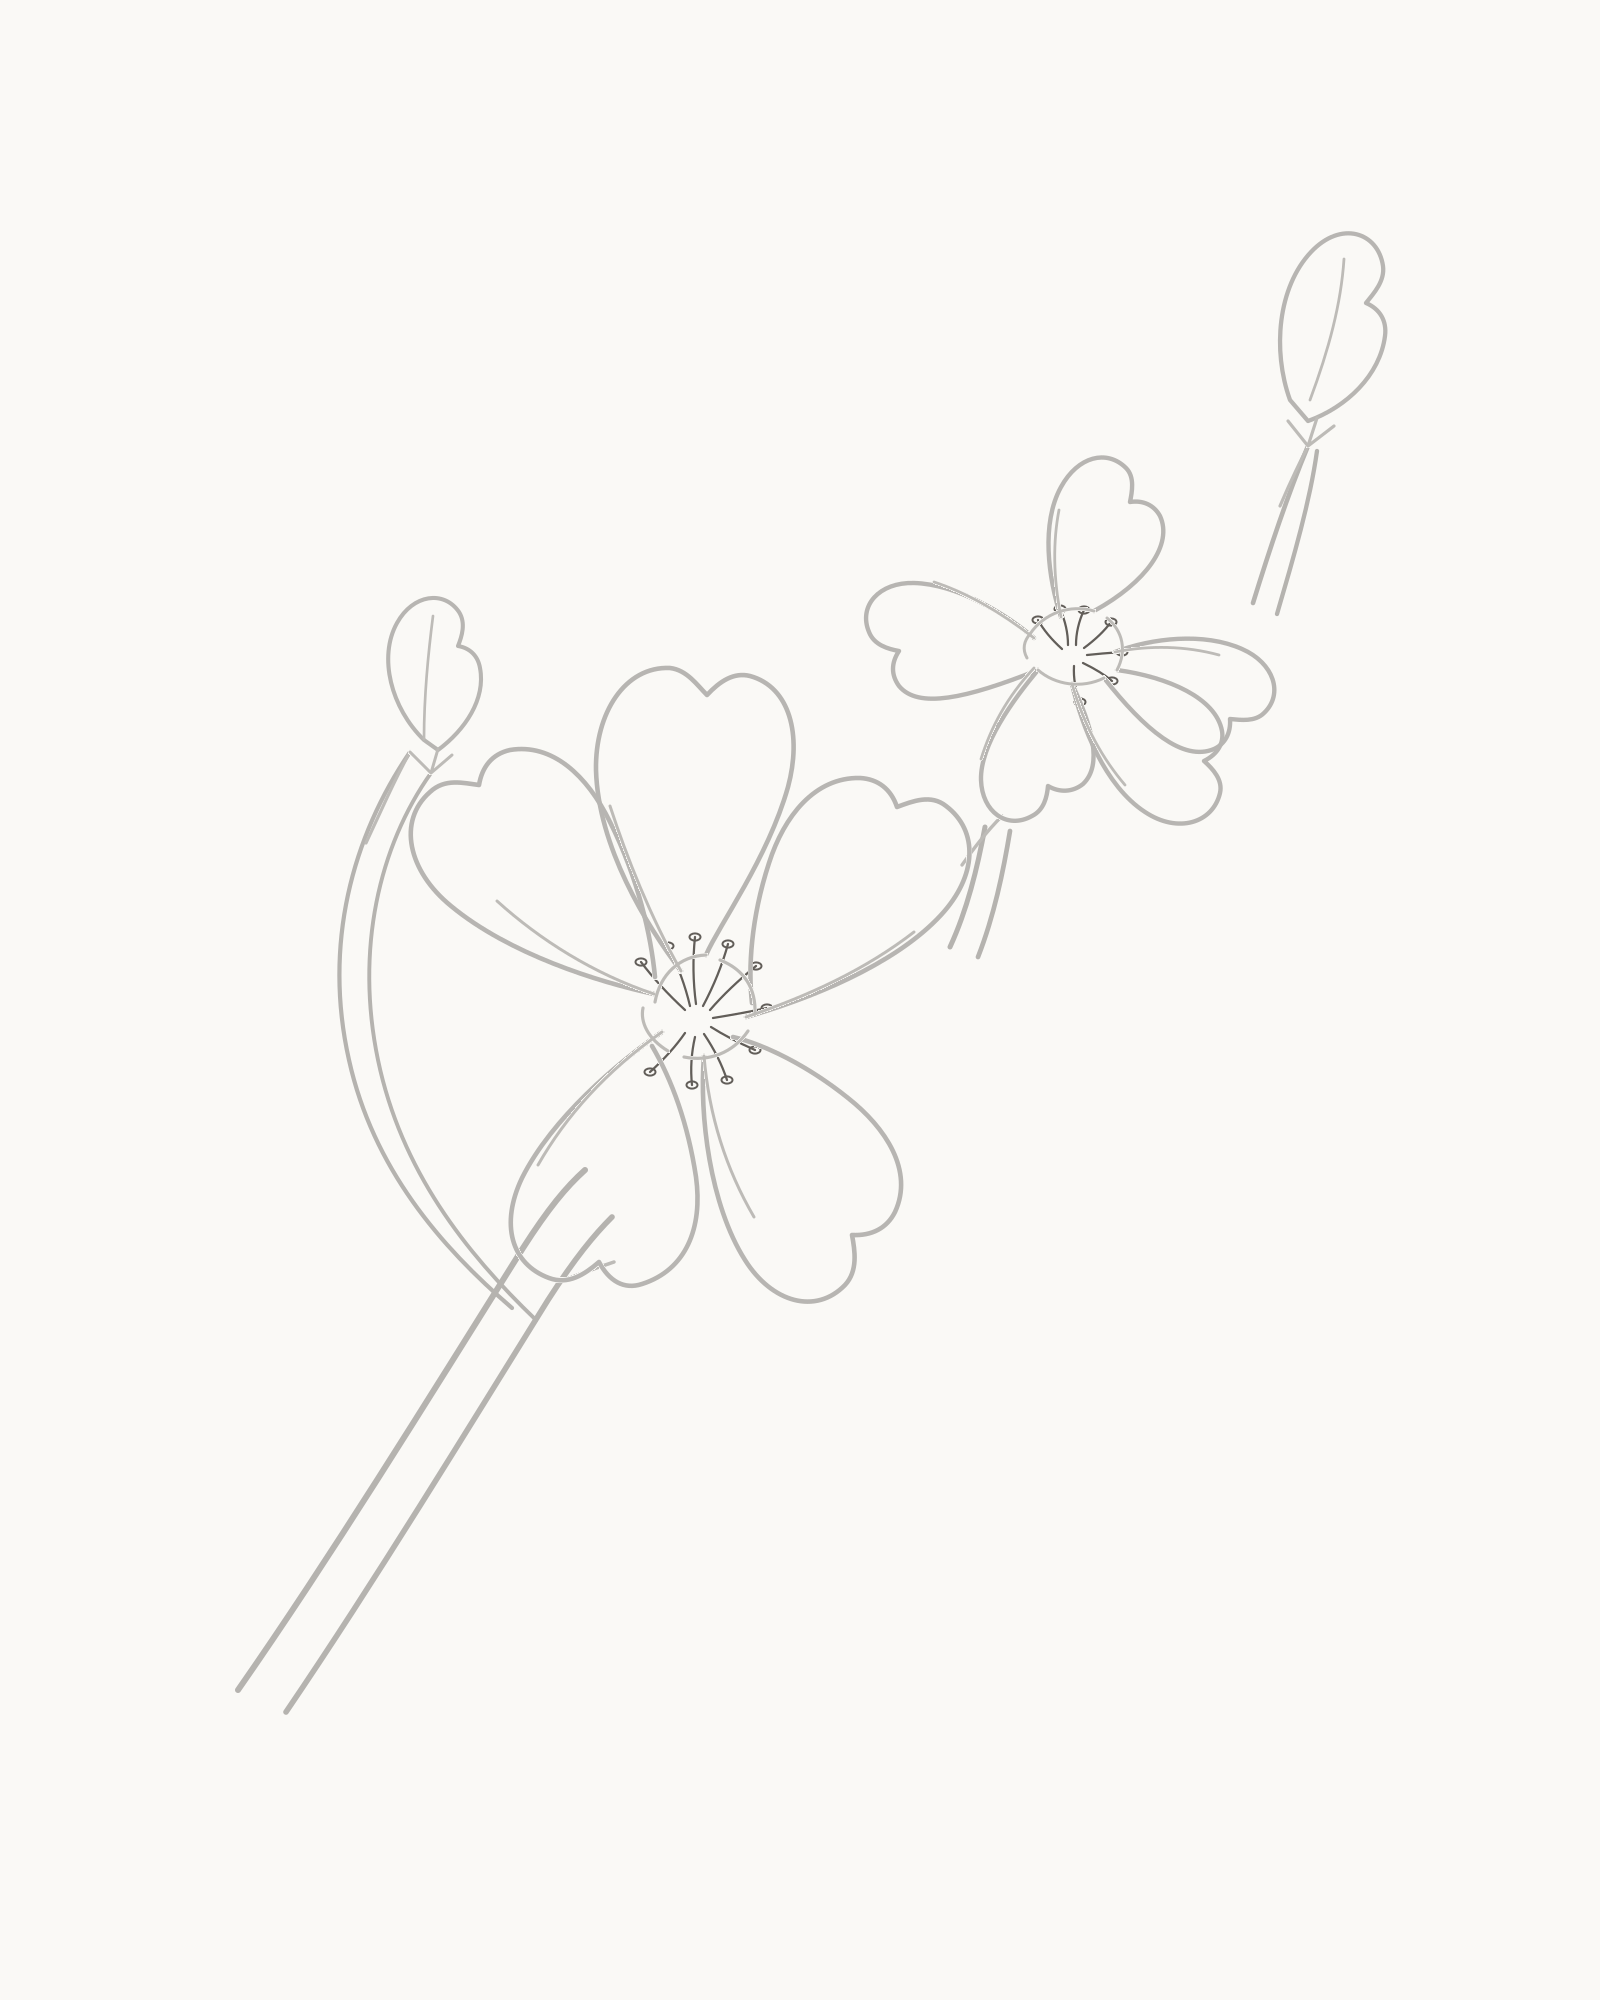
Stage 7 of 8. Unequal open stamens clarify both flower centres. - Ten in main bloom
- Seven in turned bloom
- Alternate lengths
- Keep terminals open
Return to the large flower. Add ten fine stamens from its broken centre, alternating short and slightly longer curves. Finish each with a tiny open dash or oval. Keep every terminal inside the petals.
Add seven stamens to the turned bloom in the same way, but compress their spread to match its angle. Do not place them at identical intervals. Stamens are the fine central flower structures; the Royal Horticultural Society's basic flower diagram separates stamens from petals and pistil, which is useful when reading a reference.[3]
Look for this before moving on: the large bloom has ten stamens and the turned bloom has seven. Both centres remain open, and the terminals vary rather than forming matching spoke wheels.
If it goes wrong: lift only the newest stamen. Shorten a line that reaches a petal edge or open a terminal that has become a filled dot; do not darken the entire centre.
8. Add twelve sparse hatches
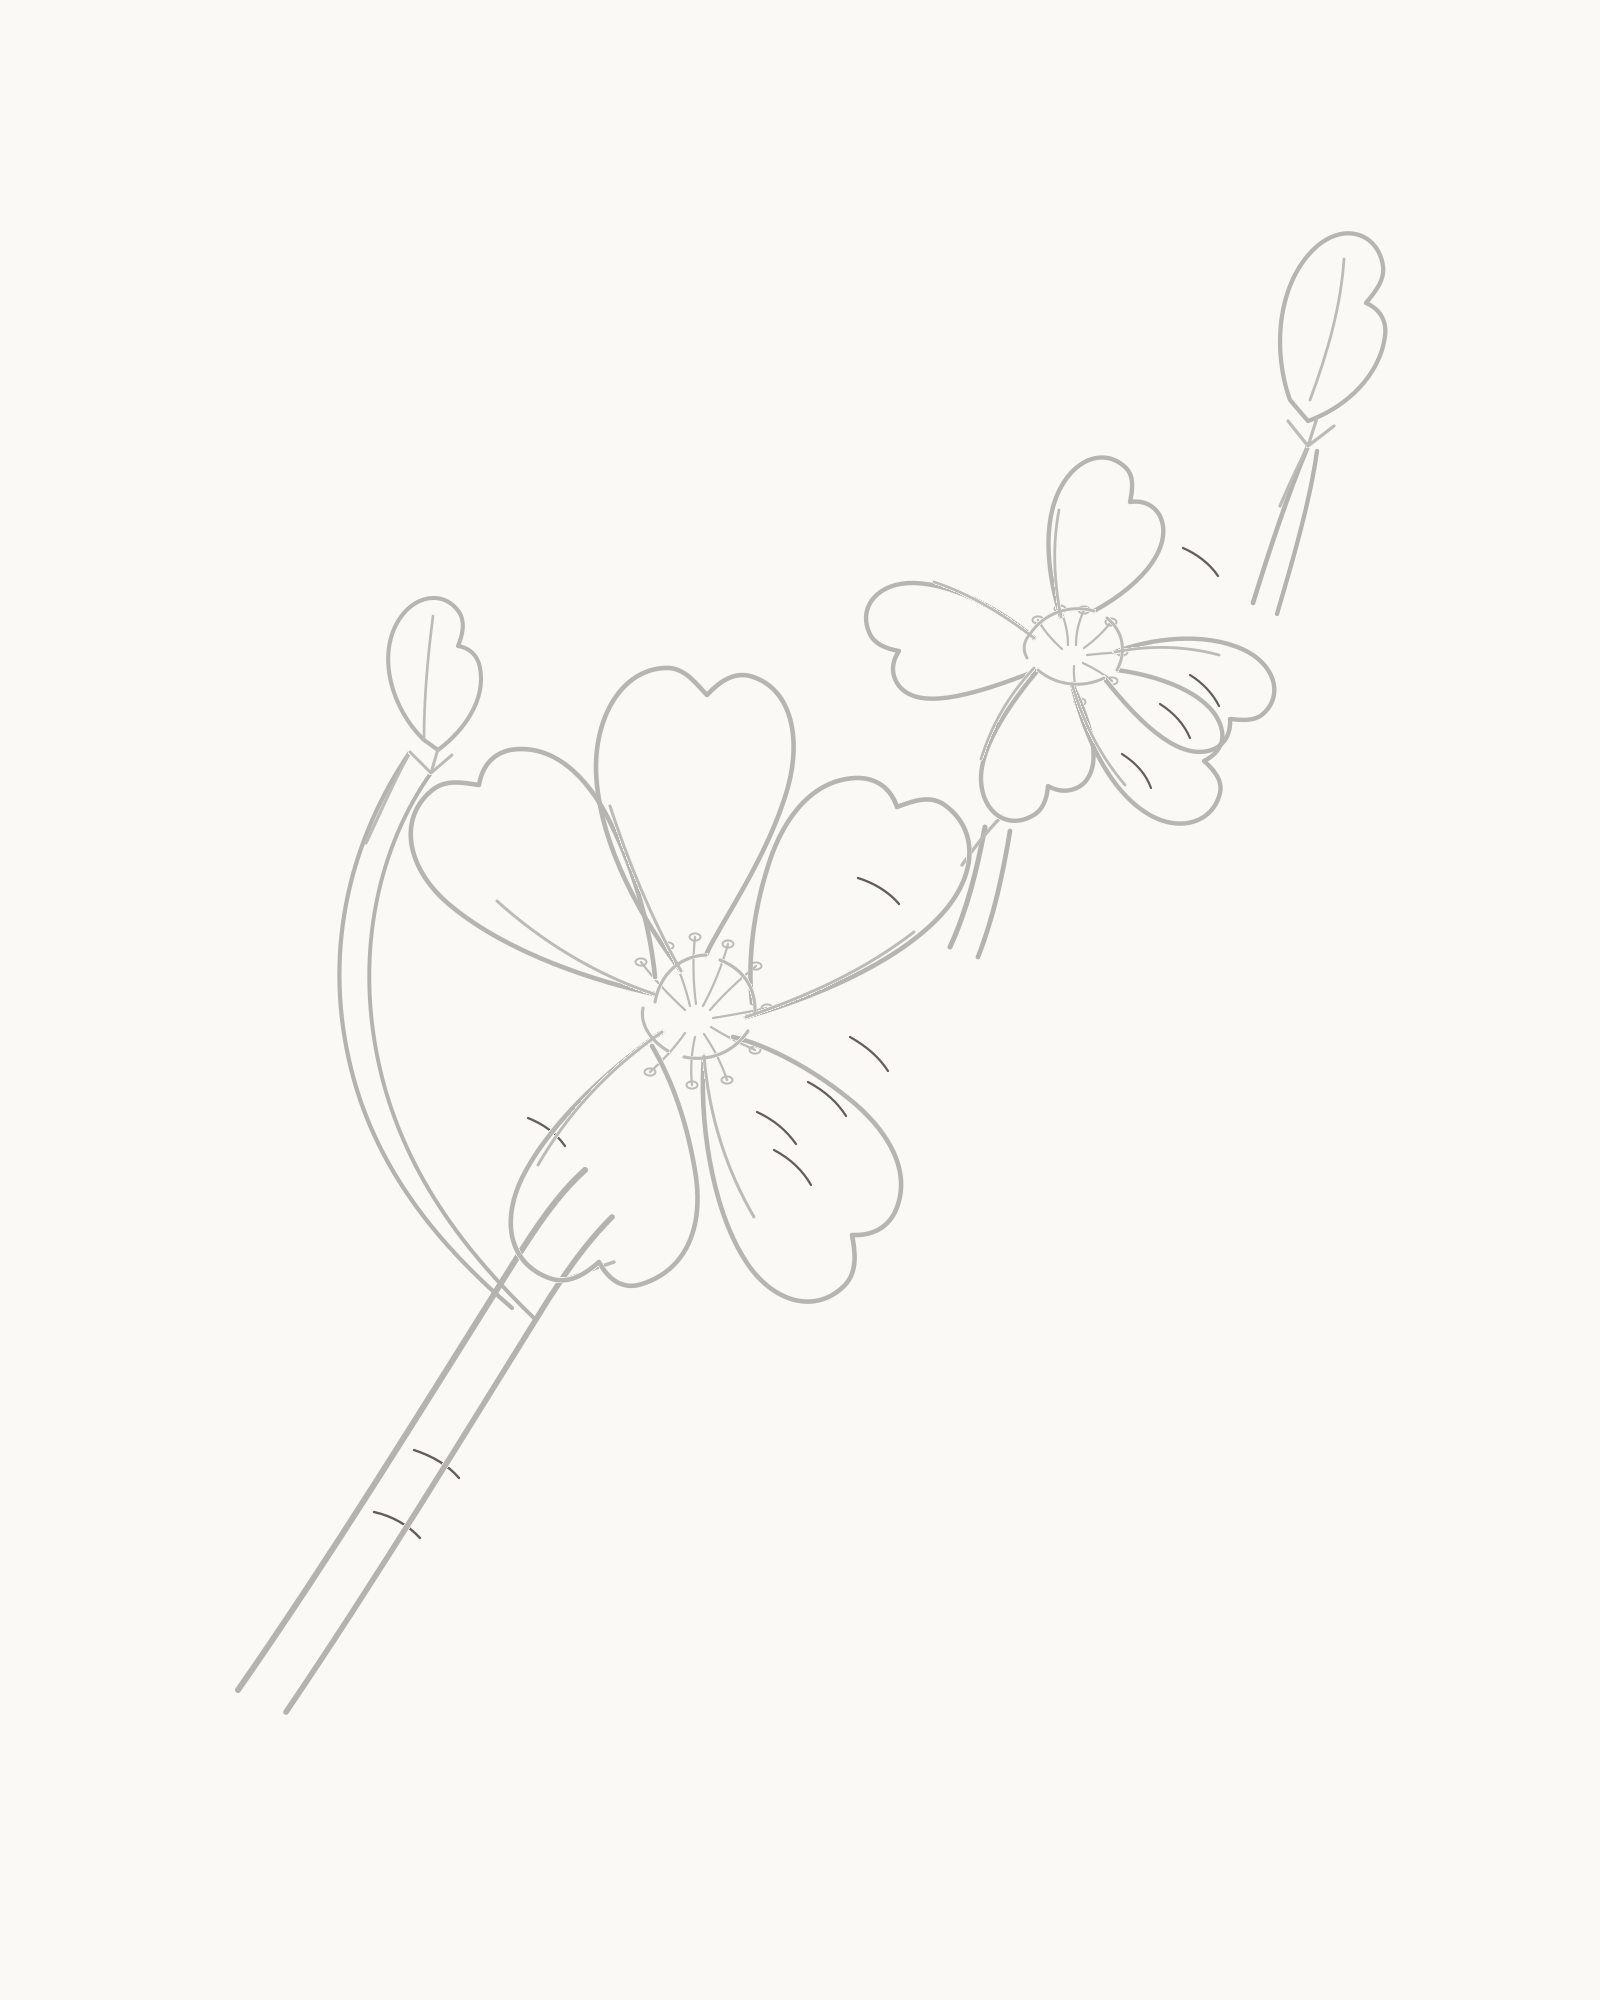
Stage 8 of 8. Twelve small marks finish one upper-left light direction. - Four main-bloom marks
- Three turned-bloom marks
- Five branch marks
- Leave open paper
Imagine the light arriving from upper-left. Add four short hatches near the lower-right bases of the main petals, then three within the turned bloom. Finish with five short marks on lower-right-facing parts of the branch and fork.
Keep all twelve strokes separate. They suggest direction and a little volume; they are not a shading layer. Do not retrace an outline or use hatching to conceal a weak stalk.
Look for this before moving on: you can count four, three and five hatches. They sit on lower-right surfaces, the paper remains mostly open and every petal, bud and attachment is still clear.
If it goes wrong: erase only the newest hatch. Shorten a mark that competes with an outline, and remove any stroke on the upper-left side rather than balancing it with extra texture.


Common mistakes and focused fixes
Every blossom looks stamped
Compare the two centres before altering petals. The main centre is rounder and the turned centre is compressed. Keep the turned rear petal narrow and its lower-front petal broad. Change viewpoint through proportion, not random extra folds.
Petal notches look like hearts
Replace the deepest notch with a shallow dip made from two short curves. A cherry-blossom petal can have a visible indentation, but the exercise does not need two large lobes.[1]
The branch appears to run through a flower
Stop the newest segment at the first petal edge it meets. Resume it only outside the opposite silhouette if the stage image shows a visible continuation. The missing middle is an overlap, not an erased mistake.
A bud looks like a leaf
Keep the bud plump near its middle, tapered at the base and notched at the tip. Retain one central seam and the three-tip collar; do not add a midrib or side veins.
The centres become dark knots
Preserve gaps in the broken centres and use open stamen terminals. Remove the newest crowded line instead of thickening the older ones.
A useful next exercise
Draw a smaller three-bloom spray beside this study. Rotate the branch so it rises from lower-right to upper-left. Keep one front bloom, turn the second in a different direction and replace one bud with a half-open flower. Use the same permanent-fold method, but choose new petal widths rather than copying these outlines.
If you want to practise a complete trunk and crown next, use How to Draw a Tree. For a different two-bloom attachment exercise, try How to Draw Flowers. Return to the How to Draw guides to filter the full completed directory.
Frequently Asked Questions
Is this a cherry-blossom flower or a whole tree lesson?
It is a close branch study. The branch carries two open flowers and two buds. The separate Tree guide teaches a complete tree with trunk and crown.
Do cherry blossoms always have five petals?
No. Five is a useful simple form for this exercise, but flowering cherries include single and double blossoms. The National Park Service describes single Yoshino blossoms and a Kwanzan form with about thirty petals.[2]
Can I draw this with a normal school pencil?
Yes. A No. 2 pencil is close to HB and is suitable. Keep the point reasonably sharp and reduce pressure for folds, stamens and hatches.
Do I need pink pencils or paint?
No. The lesson is designed as a line drawing. Colour can be a separate practice variation after the structure works.
Why are there two flower angles?
The changed angle prevents the branch from looking as if one symbol was copied repeatedly. It also teaches how a compressed centre and unequal petal widths show a turn.
Should I erase the fold lines inside the petals?
No. They are permanent and remain as restrained folds in the final image. Erase only a newest faulty mark before accepting its stage.
Why does the branch appear in separate visible sections?
Flowers sit in front of it. The branch disappears behind each nearer silhouette and resumes outside it, just as an overlapped object would.
How can I make the drawing more realistic without heavy shading?
Vary petal widths, keep shallow notches, taper the branch, change the two flower angles and preserve clean stalk attachments. Those structural choices do more than random graphite texture.
References
- Arnold Arboretum of Harvard University, “April Tree-of-the-Month: Cherry — Prunus spp.” View source
- U.S. National Park Service, “Types of Trees — Cherry Blossom Festival.” View source
- Royal Horticultural Society, “Science focus: Parts of Flowering Plants.” View source
More DRAWING Guides

How to Draw a Rose: A Step by Step Guide

How to Draw a Tree: A Step by Step Guide

How to Draw Eyes: A Step by Step Guide

How to Draw Leaves: A Step by Step Guide

How to Draw Autumn Leaves: A Step by Step Guide

How to Draw Flowers: A Step by Step Guide

How to Draw a Lily: A Step by Step Guide

How to Draw a Sunflower: A Step by Step Guide

How to Draw a Tulip: A Step by Step Guide

How to Draw a Hibiscus: A Step by Step Guide

How to Draw a Daisy: A Step by Step Guide
