



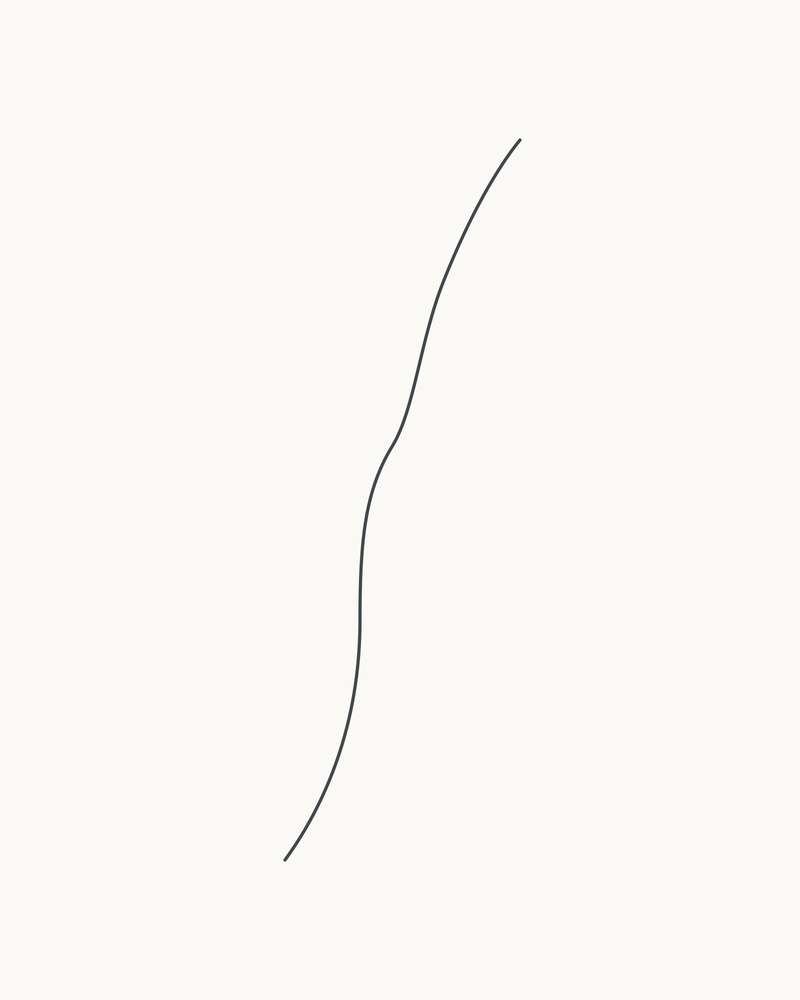
Draw a small four-leaf sprig in eight permanent line stages. You will set one gently curved twig, give every leaf its own direction, shape four unequal blades and finish with clear attachments and a few restrained veins. The result is a complete pencil line drawing, not a shaded botanical study or a particular tree species.
A leaf is easier to place when its direction is decided before its outline. Here, each thin attachment-to-tip line begins at the twig, forms the leaf stalk and continues through the blade as the midrib. The outer edges are shaped around that permanent line.
The sprig has one terminal leaf and three side leaves arranged alternately. This is a designed arrangement for the exercise, not an attempt to identify a species.
Difficulty: beginner
Time: allow about 25–40 minutes; this is an untested estimate
Medium: HB pencil on smooth white paper
Outcome: Stage 8 is the complete line drawing
Materials
- One sharpened HB or No. 2 pencil.
- A blank sheet with a smooth surface, or a sketchbook turned to portrait orientation. Unlined copy paper works for practice.
- A clean eraser for one freshly misplaced local line.
- A pencil sharpener.
- Optional: a straight scrap of card held above the page to compare the overall diagonal. Do not use it to rule a line into the drawing.
Coloured pencils, blending tools, specialist paper, tracing paper and extra graphite grades are unnecessary here. Sharpen the point for the short side veins, and favour an even line instead of trying to imitate pencil grain.
Before you draw
Use the page upright. The sprig begins a little left of centre near the lower edge and finishes right of centre near the upper edge. Rehearse that rising diagonal by moving the pencil above the paper once or twice before touching down. Leave white space around all four future leaves.
The terminal leaf is the smallest. The upper-left leaf is the longest and narrowest, the middle-right leaf is the broadest, and the lower-left leaf is shorter and fuller. None is a reflected copy of another.
Every line shown in the stages stays in the finished result. There is no hidden oval, traced framework, scheduled erasing pass or shading. The grid switch and Stage 1 guide are display tools only.
Darker lines are new in the current stage. Earlier marks remain visible at reduced strength.
1. Place the main twig
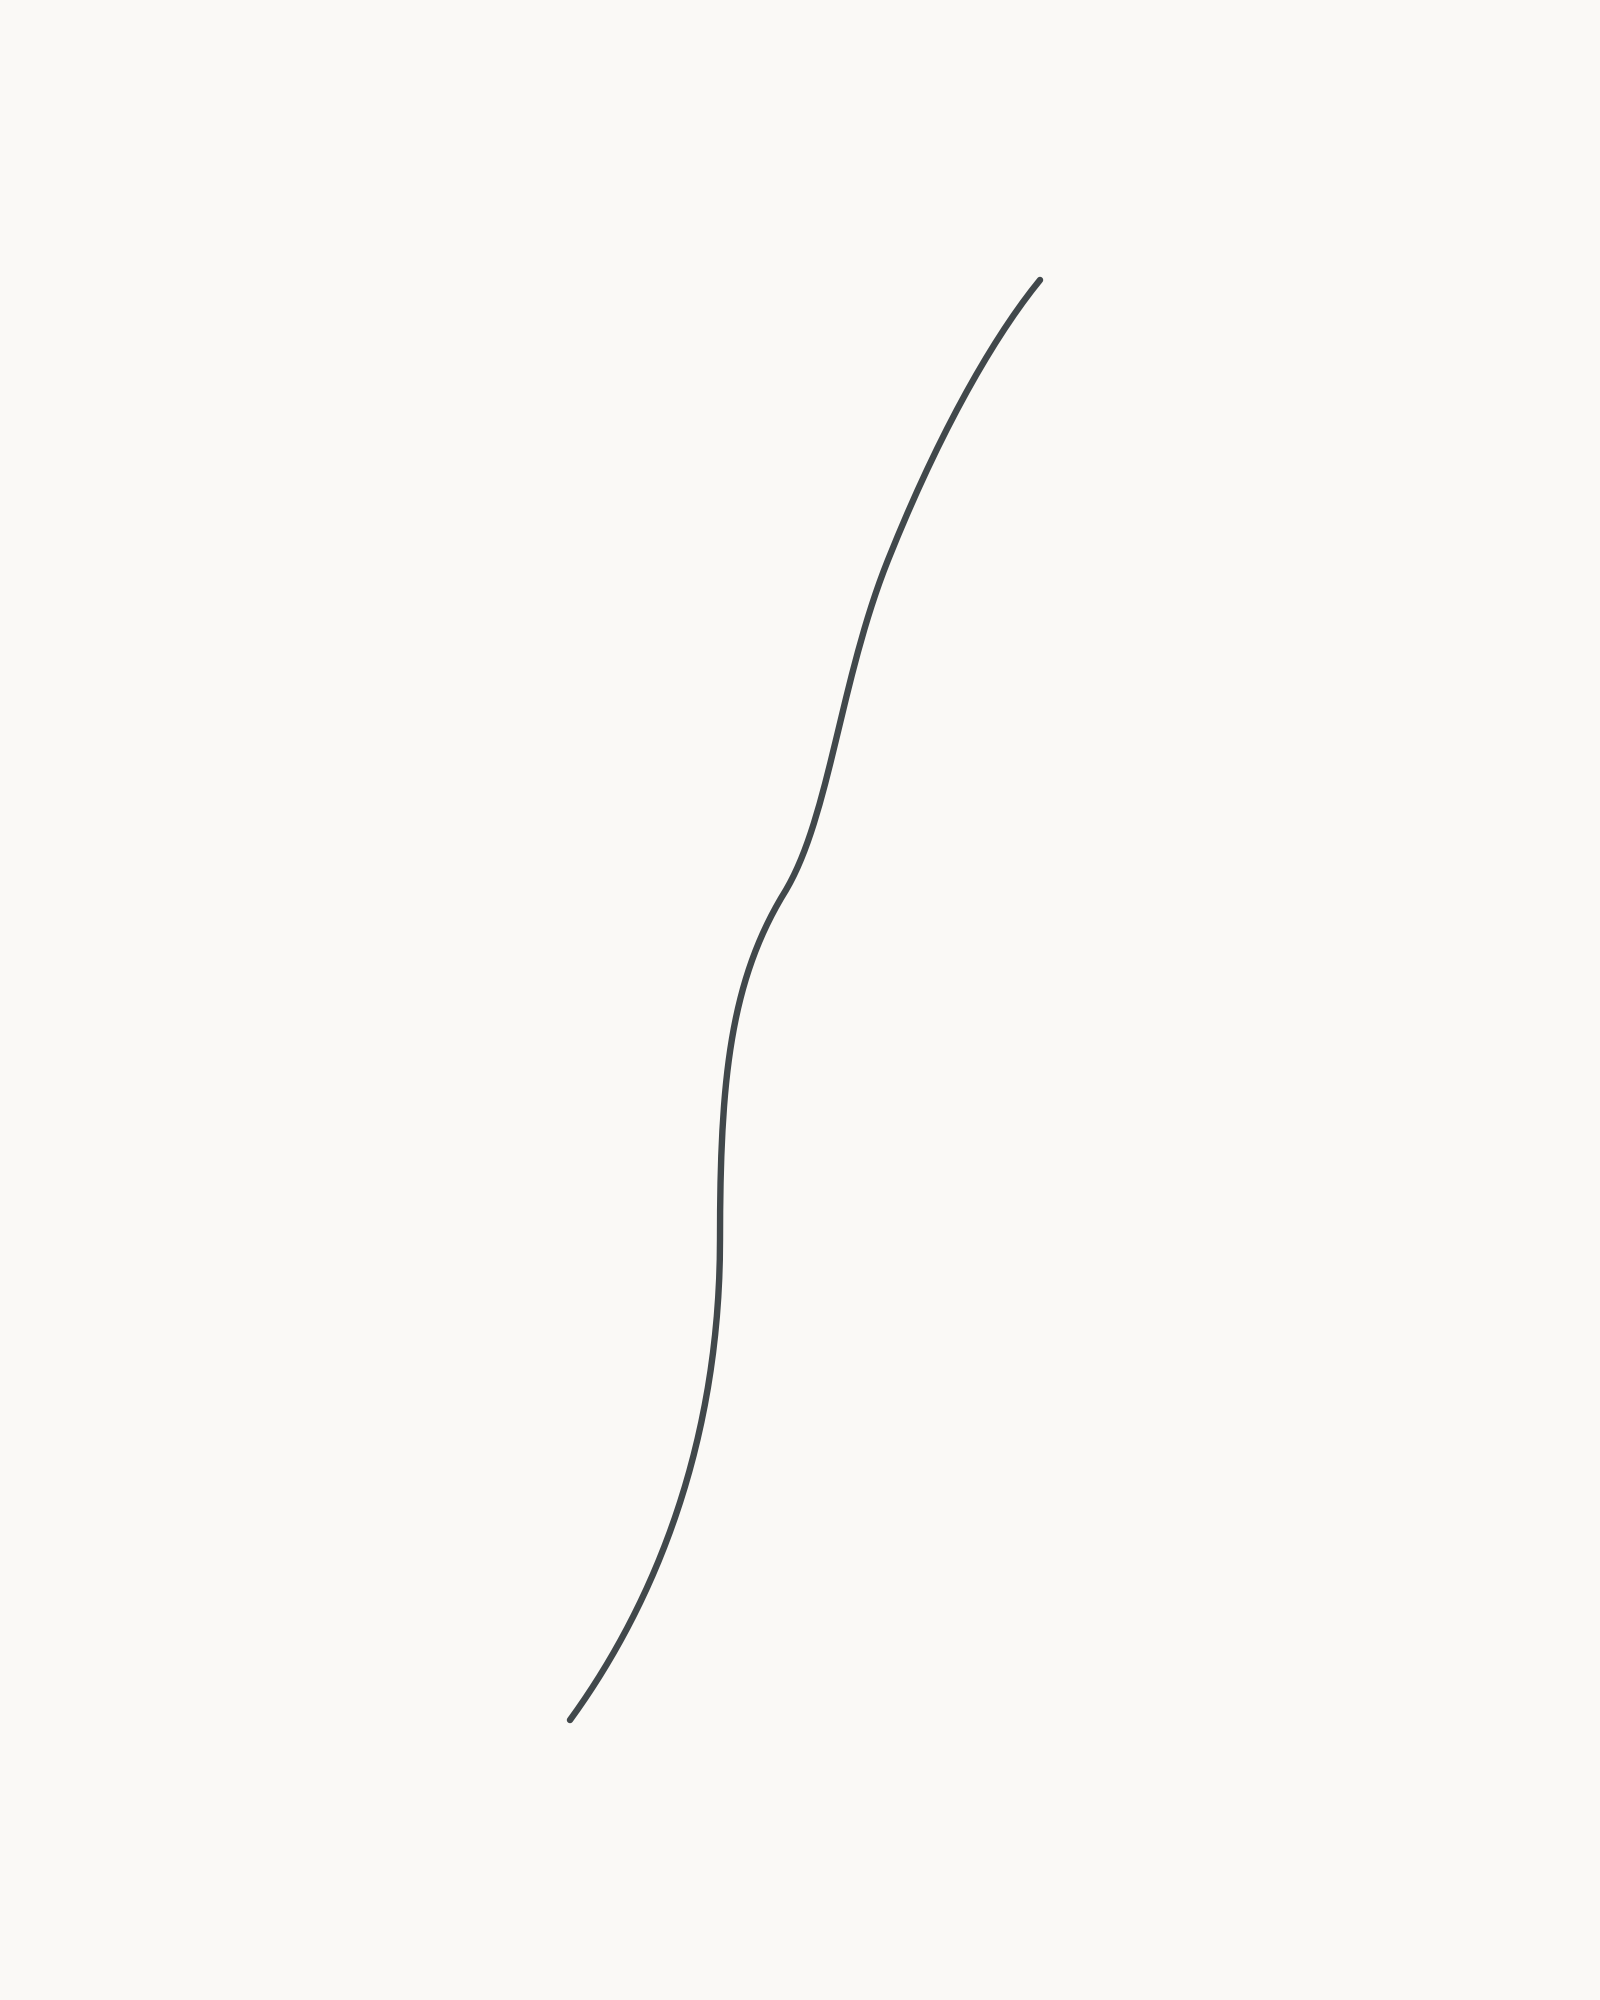
Stage 1 of 8. One permanent S-curve sets the scale and flow of the sprig. 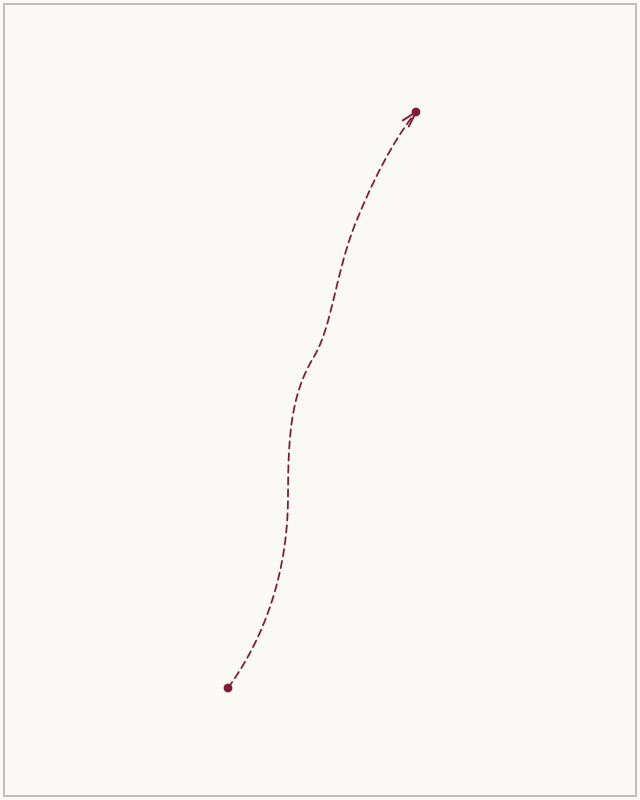
Placement cue: begin near the lower-left dot and rise towards the upper-right dot. Copy the gentle change of direction, not the frame or dotted line. Use the separate placement cue to compare the lower start and upper end. Beginning near the lower-left part of the drawing area, make one long, shallow S-curve that rises towards the upper right. Let it lean right, ease back slightly through the middle, then turn right again near the top.
This line is permanent. It will become one edge of the twig later, so avoid sketching over it repeatedly. Stop with both ends well inside the paper.
Look for this before moving on: The curve fills most of the page height, changes direction gently rather than sharply, and leaves room for leaves on both sides.
If it goes wrong: Correct only the newest section before adding any leaf lines. Shorten a hook or replace a kink locally; do not trace a second curve over the whole twig.
2. Set the four leaf directions
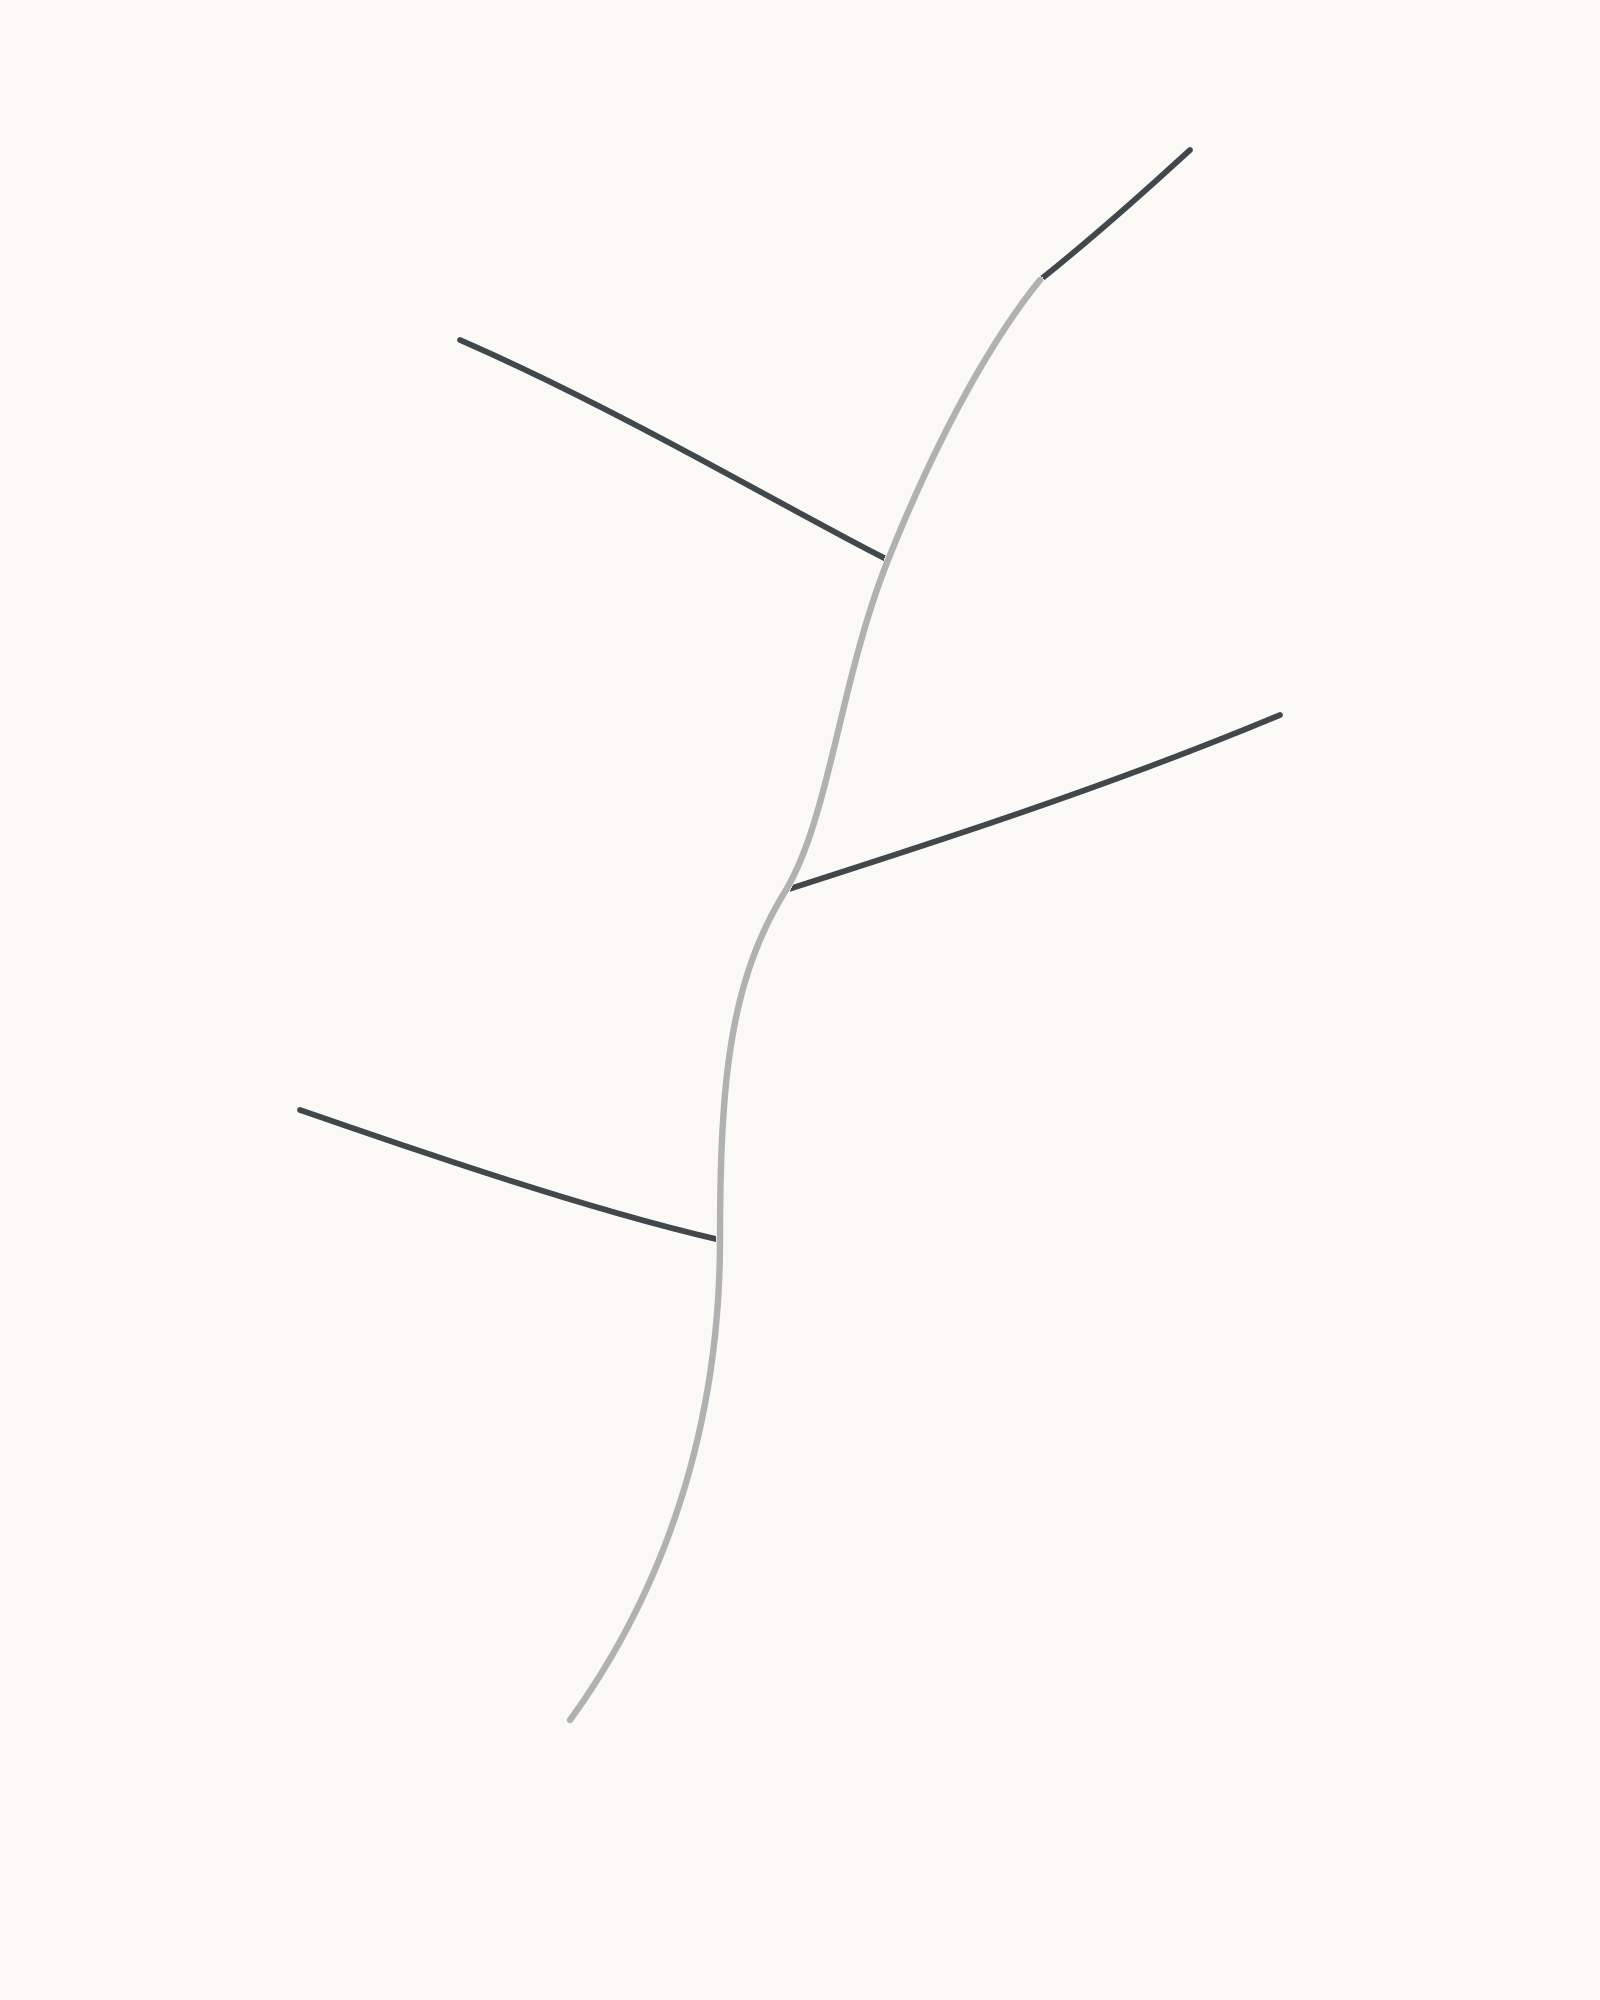
Stage 2 of 8. Four connected axes give every future leaf a distinct direction and length. - Terminal
- Upper-left
- Middle-right
- Lower-left
Add the four attachment-to-tip lines in a fixed order. First, continue from the twig's top towards the upper right for the terminal leaf. Second, start lower on the twig and travel a longer distance towards the upper left. Third, begin around the middle and point a broad span towards the right. Fourth, begin lower down and aim towards the left with a smaller upward tilt.
Each new line must start on the existing twig. Make the four lengths and angles visibly different. The open structure should already read as a terminal leaf followed by left, right and left attachments.
Look for this before moving on: Exactly four lines meet the twig, none floats, and no two side lines are parallel or arranged as a mirrored pair.
If it goes wrong: Keep the main twig and the axes that agree with the example. Erase and replace only the newest misplaced direction line before an outline is drawn around it.
3. Shape the terminal leaf
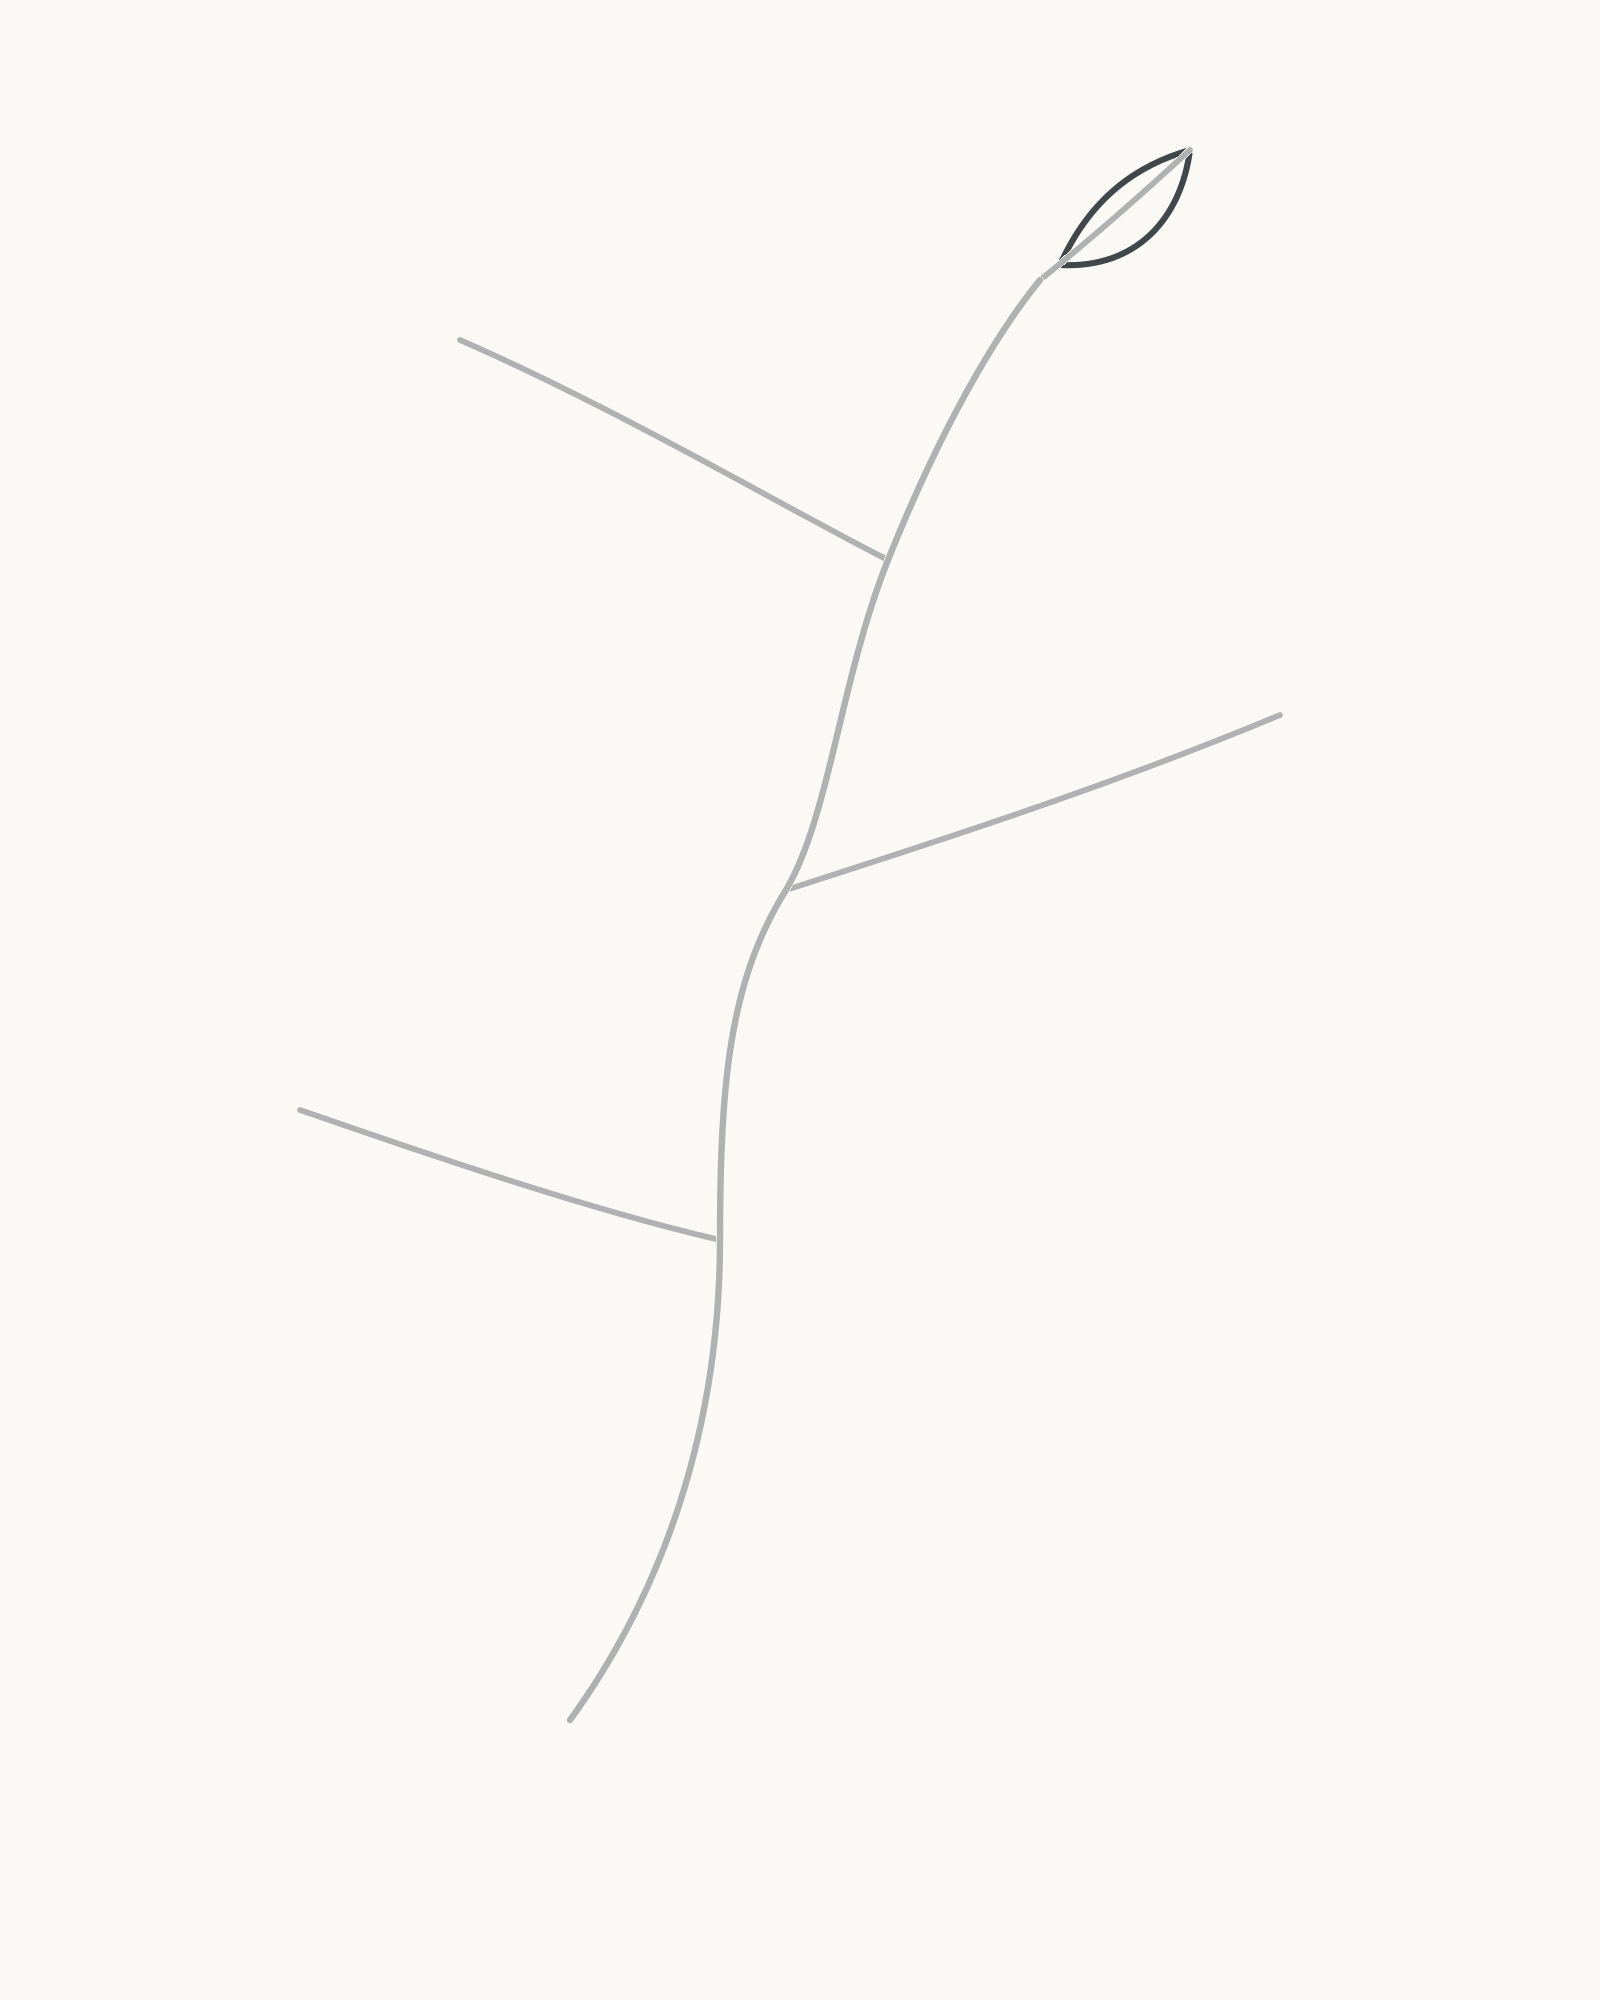
Stage 3 of 8. Two unequal edges close the smallest terminal blade around its permanent axis. Begin the smallest blade a short distance beyond the top of the twig, leaving the first part of its axis visible as a stalk. Draw one edge towards the tip, then return along a different curve to the blade base. The two sides should meet cleanly at the tip without making a perfectly balanced almond.
Keep the blade slender. Its permanent centre line should remain visible from base to tip.
Look for this before moving on: The terminal leaf is small and pointed, both outer curves meet the existing axis at the same base and tip, and a short stalk remains visible below it.
If it goes wrong: Preserve the axis. Replace only the fresh outer edge that made the leaf too round, blunt or symmetrical; do not move the tip line to fit the outline.
4. Shape the upper-left leaf
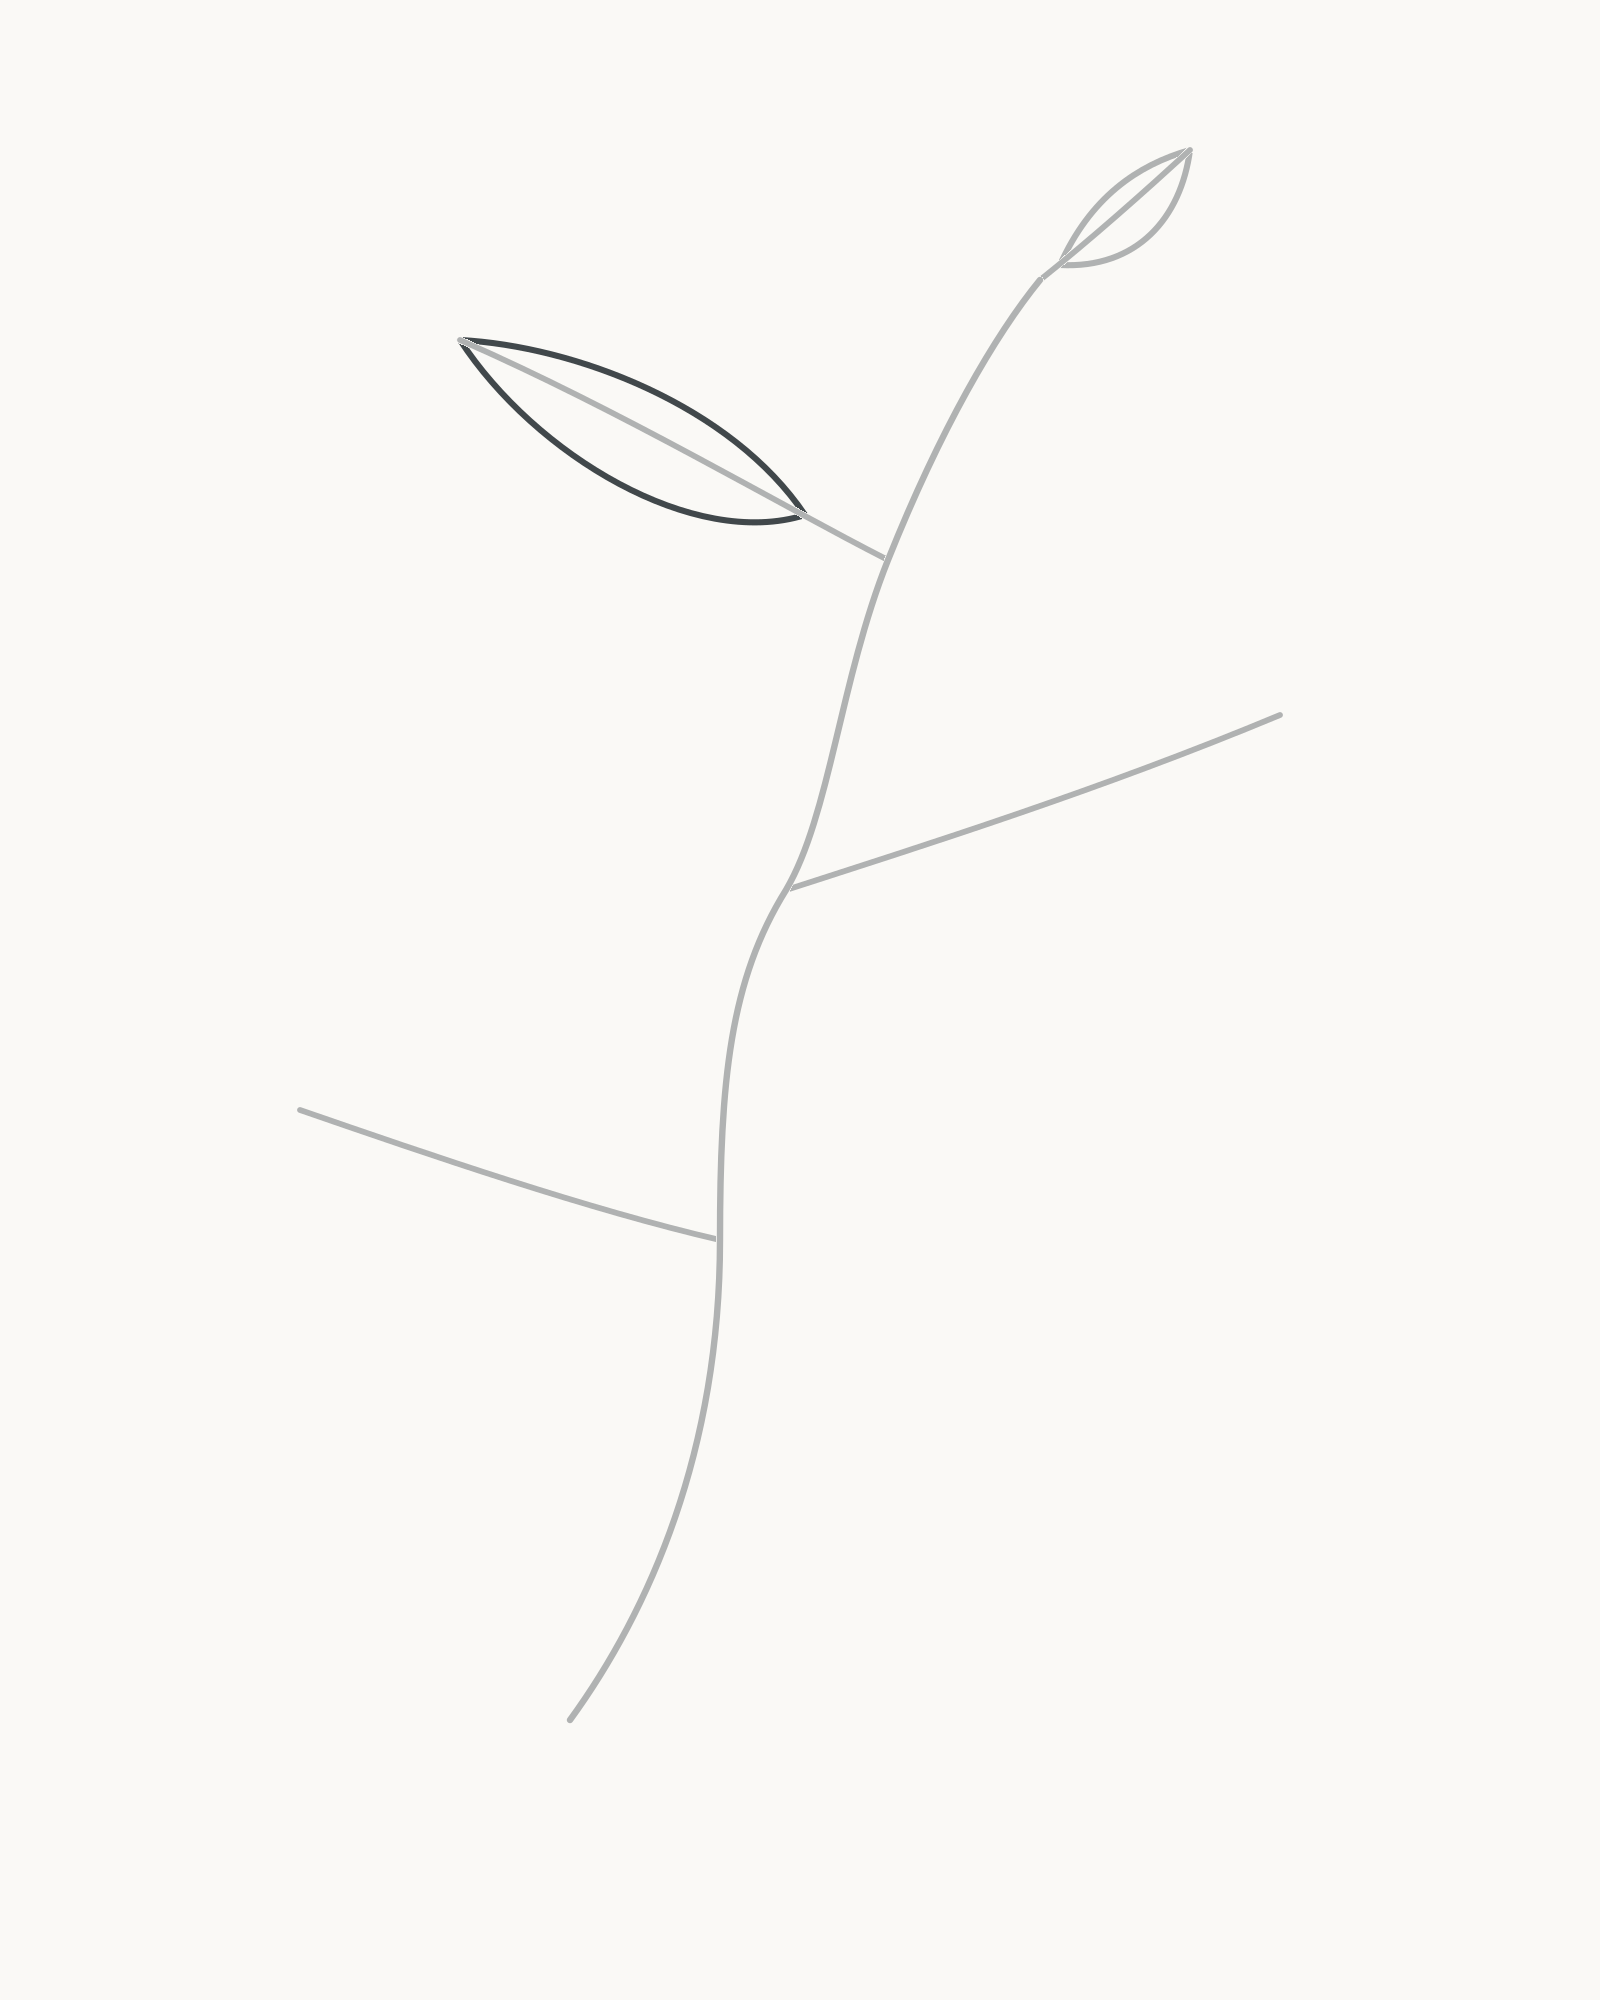
Stage 4 of 8. The longest, narrowest blade introduces a different proportion and edge rhythm. Move to the long upper-left axis. Start the blade well away from the twig so a clear stalk remains. Shape the upper edge towards the far tip, then draw the return edge with a slightly fuller bow. This leaf is longer and narrower than the others, but its two sides are still unequal.
Let both edges narrow into the same base instead of attaching them directly to the twig.
Look for this before moving on: This is the longest, narrowest blade; its lower edge is a little fuller; and the centre line runs unbroken from the twig through the stalk to the tip.
If it goes wrong: Keep the axis and the edge that best follows it. Correct only the newest bulging or flattened section, stopping before the blade base so the stalk remains untouched.
5. Shape the middle-right leaf
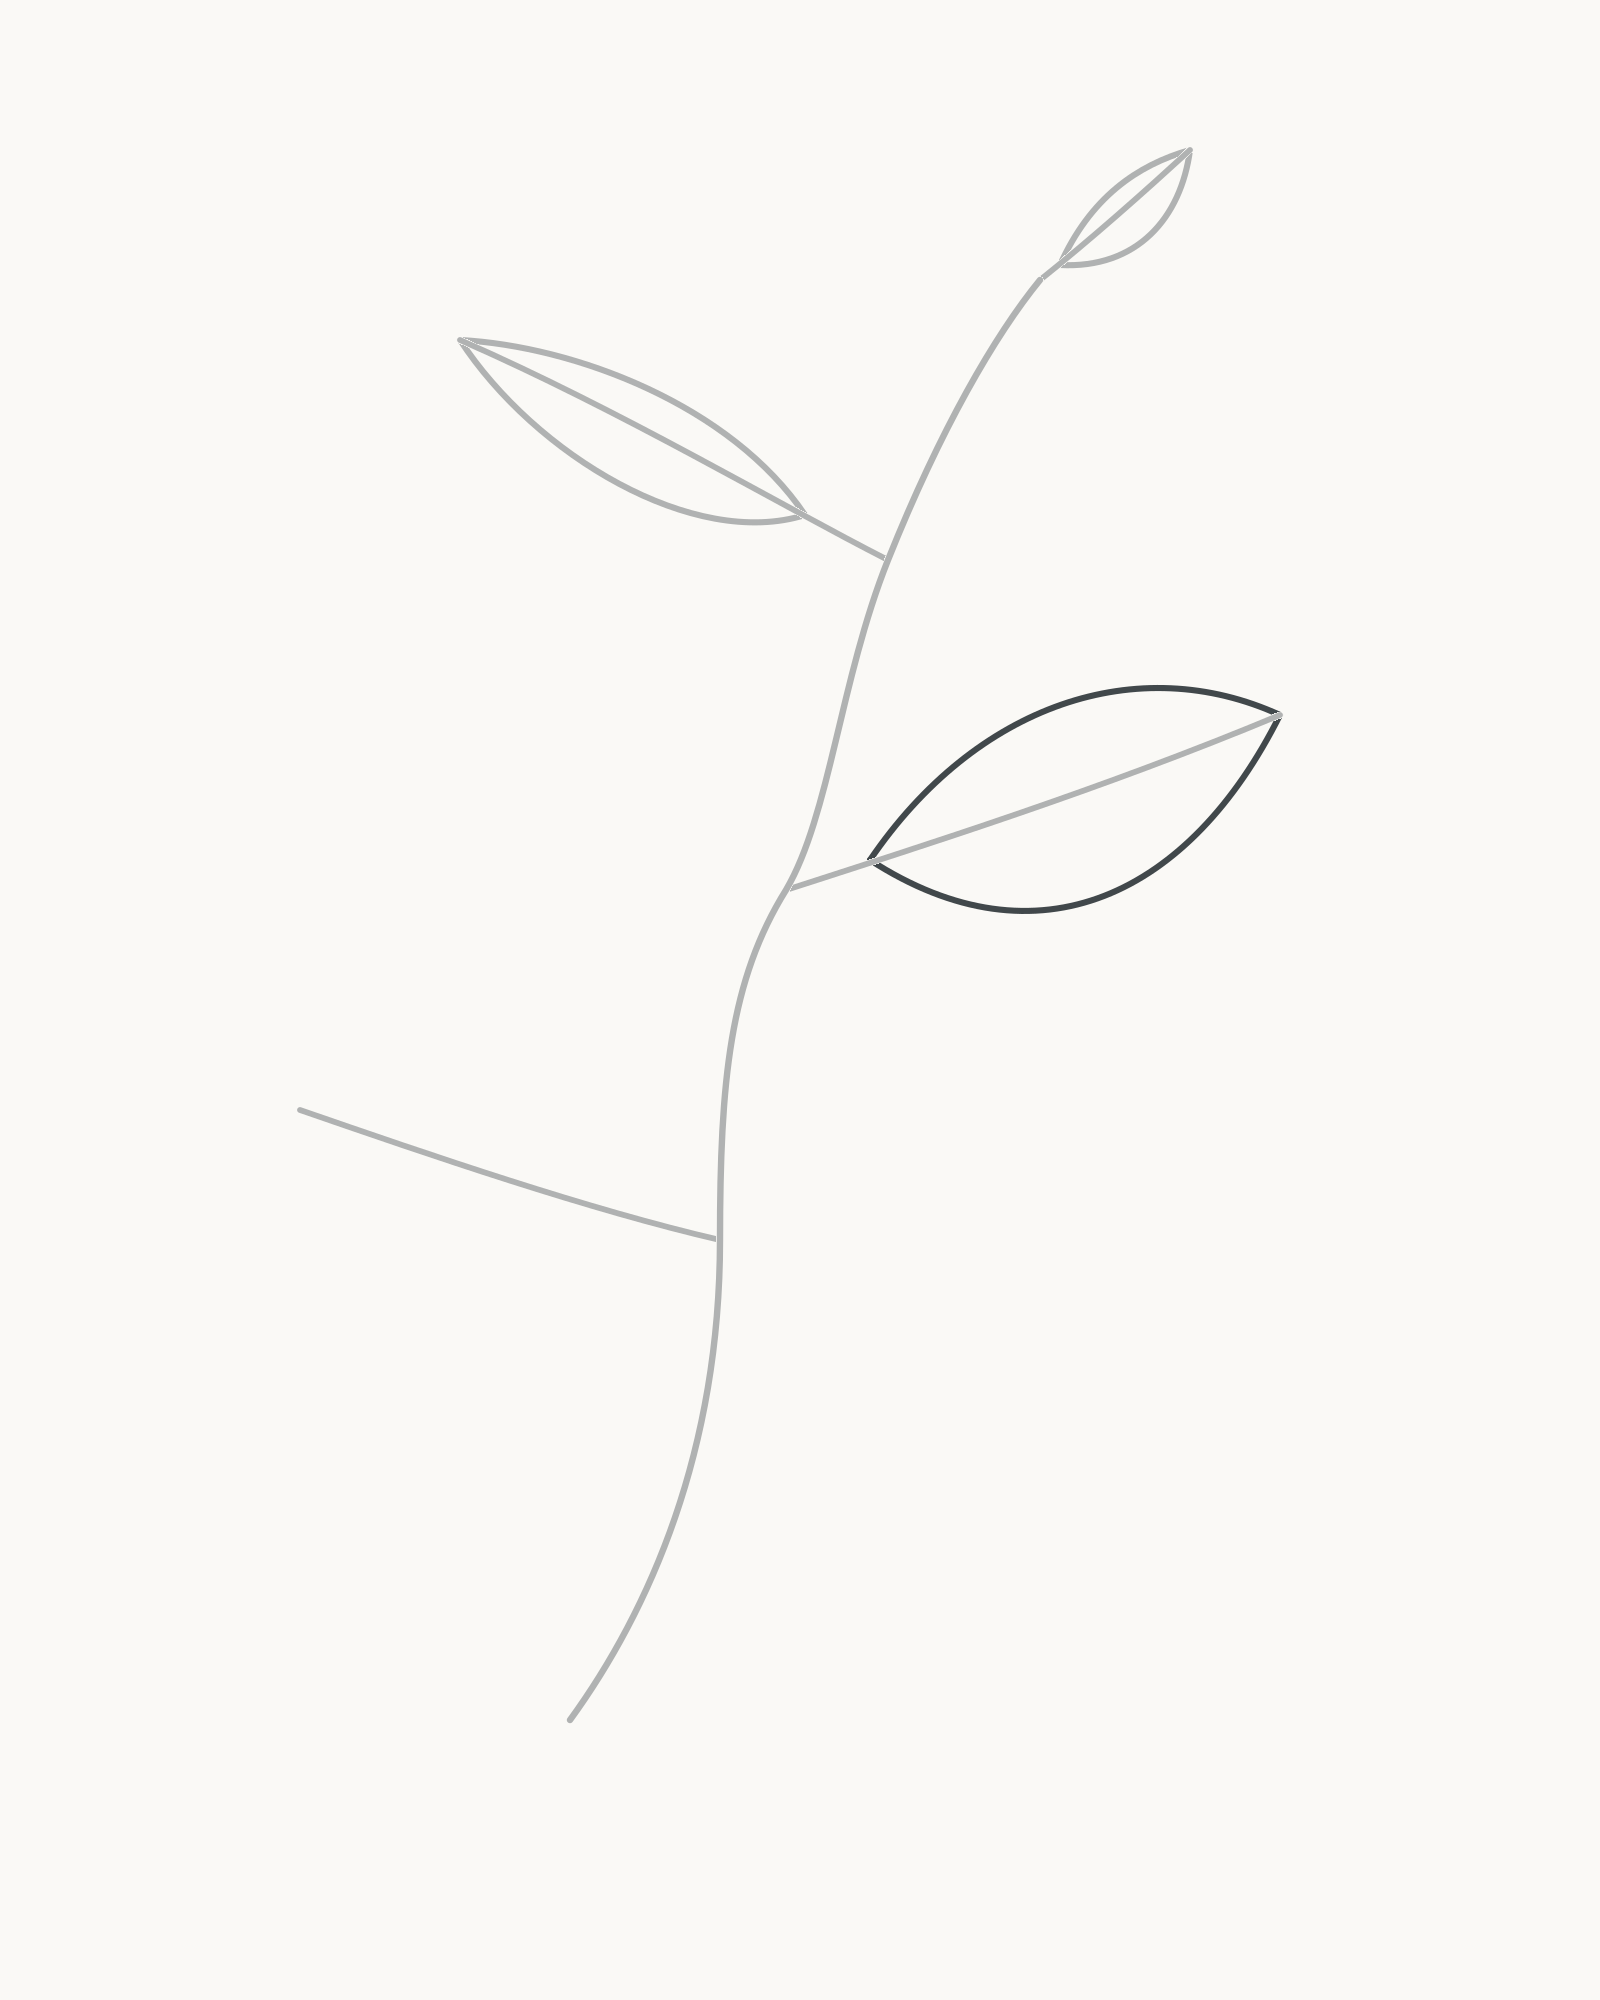
Stage 5 of 8. A broad right blade changes where the outline reaches its widest point. Build the broadest blade around the middle-right axis. Let the upper edge swell earlier, closer to the blade base, then taper towards the pointed tip. Bring the lower edge back in a longer, calmer curve. This change in where the leaf is widest prevents it from repeating the upper-left shape.
Keep a narrow open stalk between blade and twig. The leaf should point right and slightly upward rather than straight sideways.
Look for this before moving on: The right leaf is the broadest of the four, its tip follows the existing axis, and its outline remains clear of every other blade.
If it goes wrong: Adjust only the fresh edge that creates the wrong width or direction. Leave the axis, twig and finished upper leaves exactly where they are.
6. Shape the lower-left leaf
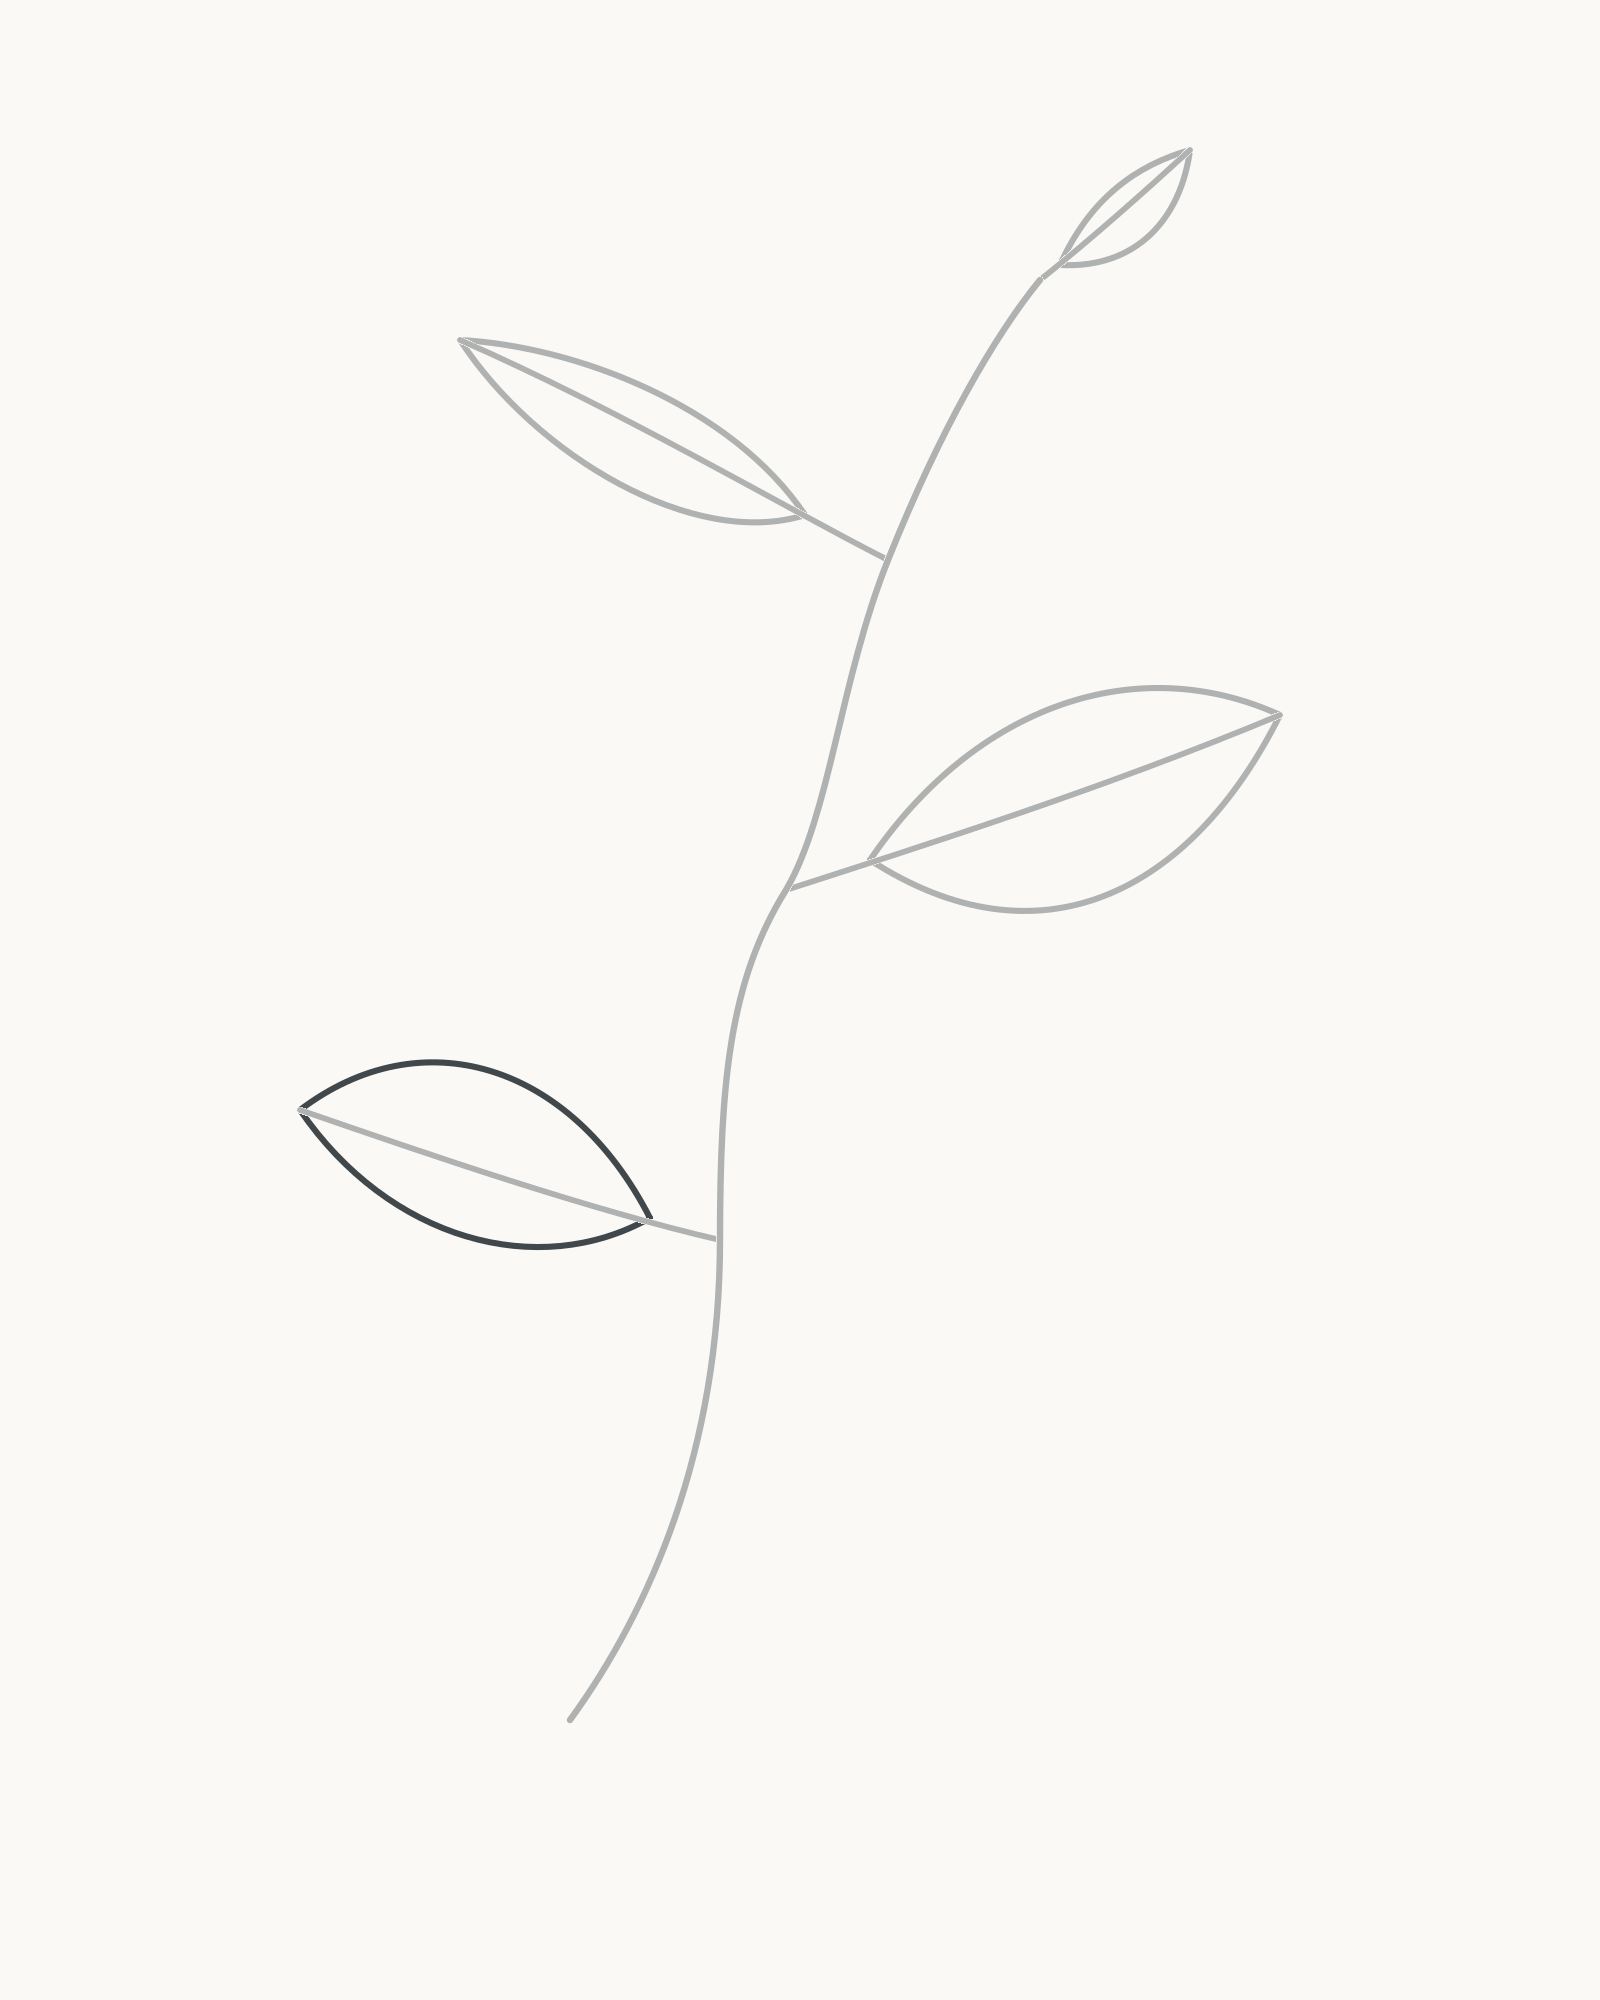
Stage 6 of 8. A shorter, fuller final blade completes the unequal alternating silhouette. Close the final blade around the lower-left axis. Make it shorter and fuller than the upper-left leaf, with its widest part nearer the middle. Allow one side to rise a little more strongly so the two edges do not mirror each other.
Its tip should sit farther left and a little higher than its attachment. Do not turn it into a horizontal badge.
Look for this before moving on: All four blades are complete and unequal, the lower leaf has its own tilt, and each blade still narrows into a visible stalk.
If it goes wrong: Compare only this new outline with the axis inside it. Shorten or reshape the newest edge section; do not alter another leaf to make the pair look more even.
7. Build the attachments
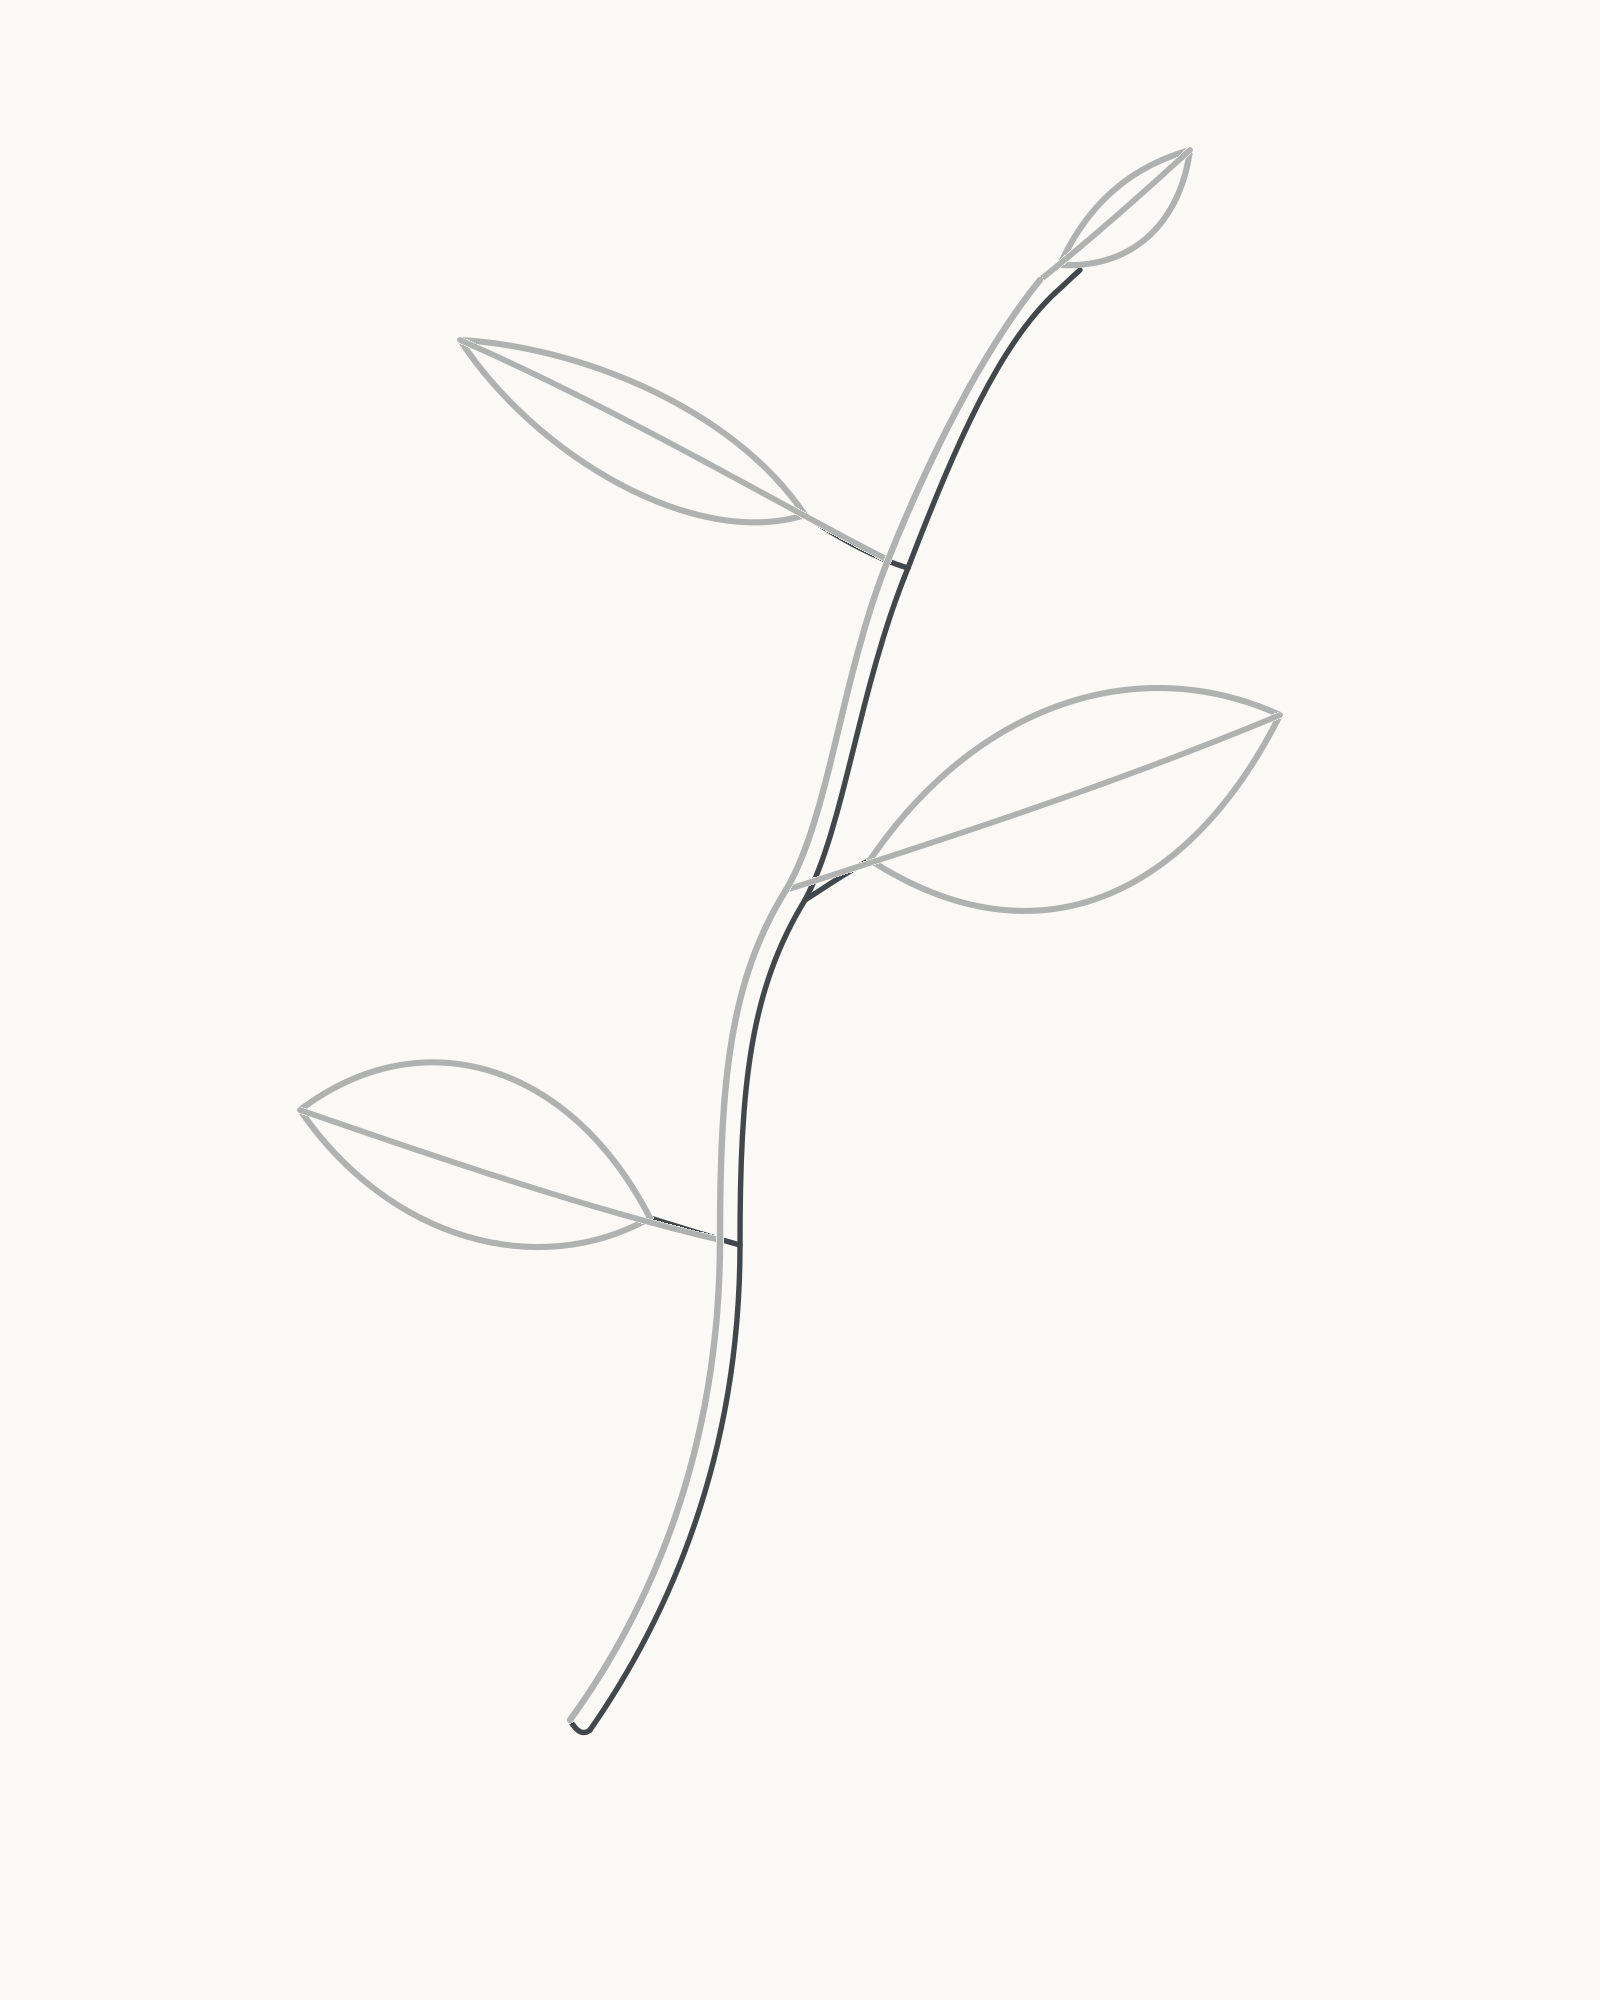
Stage 7 of 8. New return edges clarify taper and attachment without changing the original axes. Use the original Stage 1 curve as one edge of the twig. Add the second edge beside it, beginning at the lower cut end and letting the gap narrow gradually towards the top. Close the lower end with one short curved stroke.
At each leaf junction, add the short return edge shown beside the existing stalk line. Work from terminal leaf to upper-left, middle-right and lower-left so no attachment is missed. Each return line should meet both the blade base and the twig, then taper as it approaches the blade. These firmer stalk edges are attachment landmarks, not shading.
Look for this before moving on: The twig narrows as it rises, every stalk joins it without a gap or black knot, and no new line continues through a blade as a second midrib.
If it goes wrong: Shorten only the new return line that crowds a junction. Reopen a small white gap if needed, but preserve the original axis and all four blade outlines.
8. Add restrained primary veins
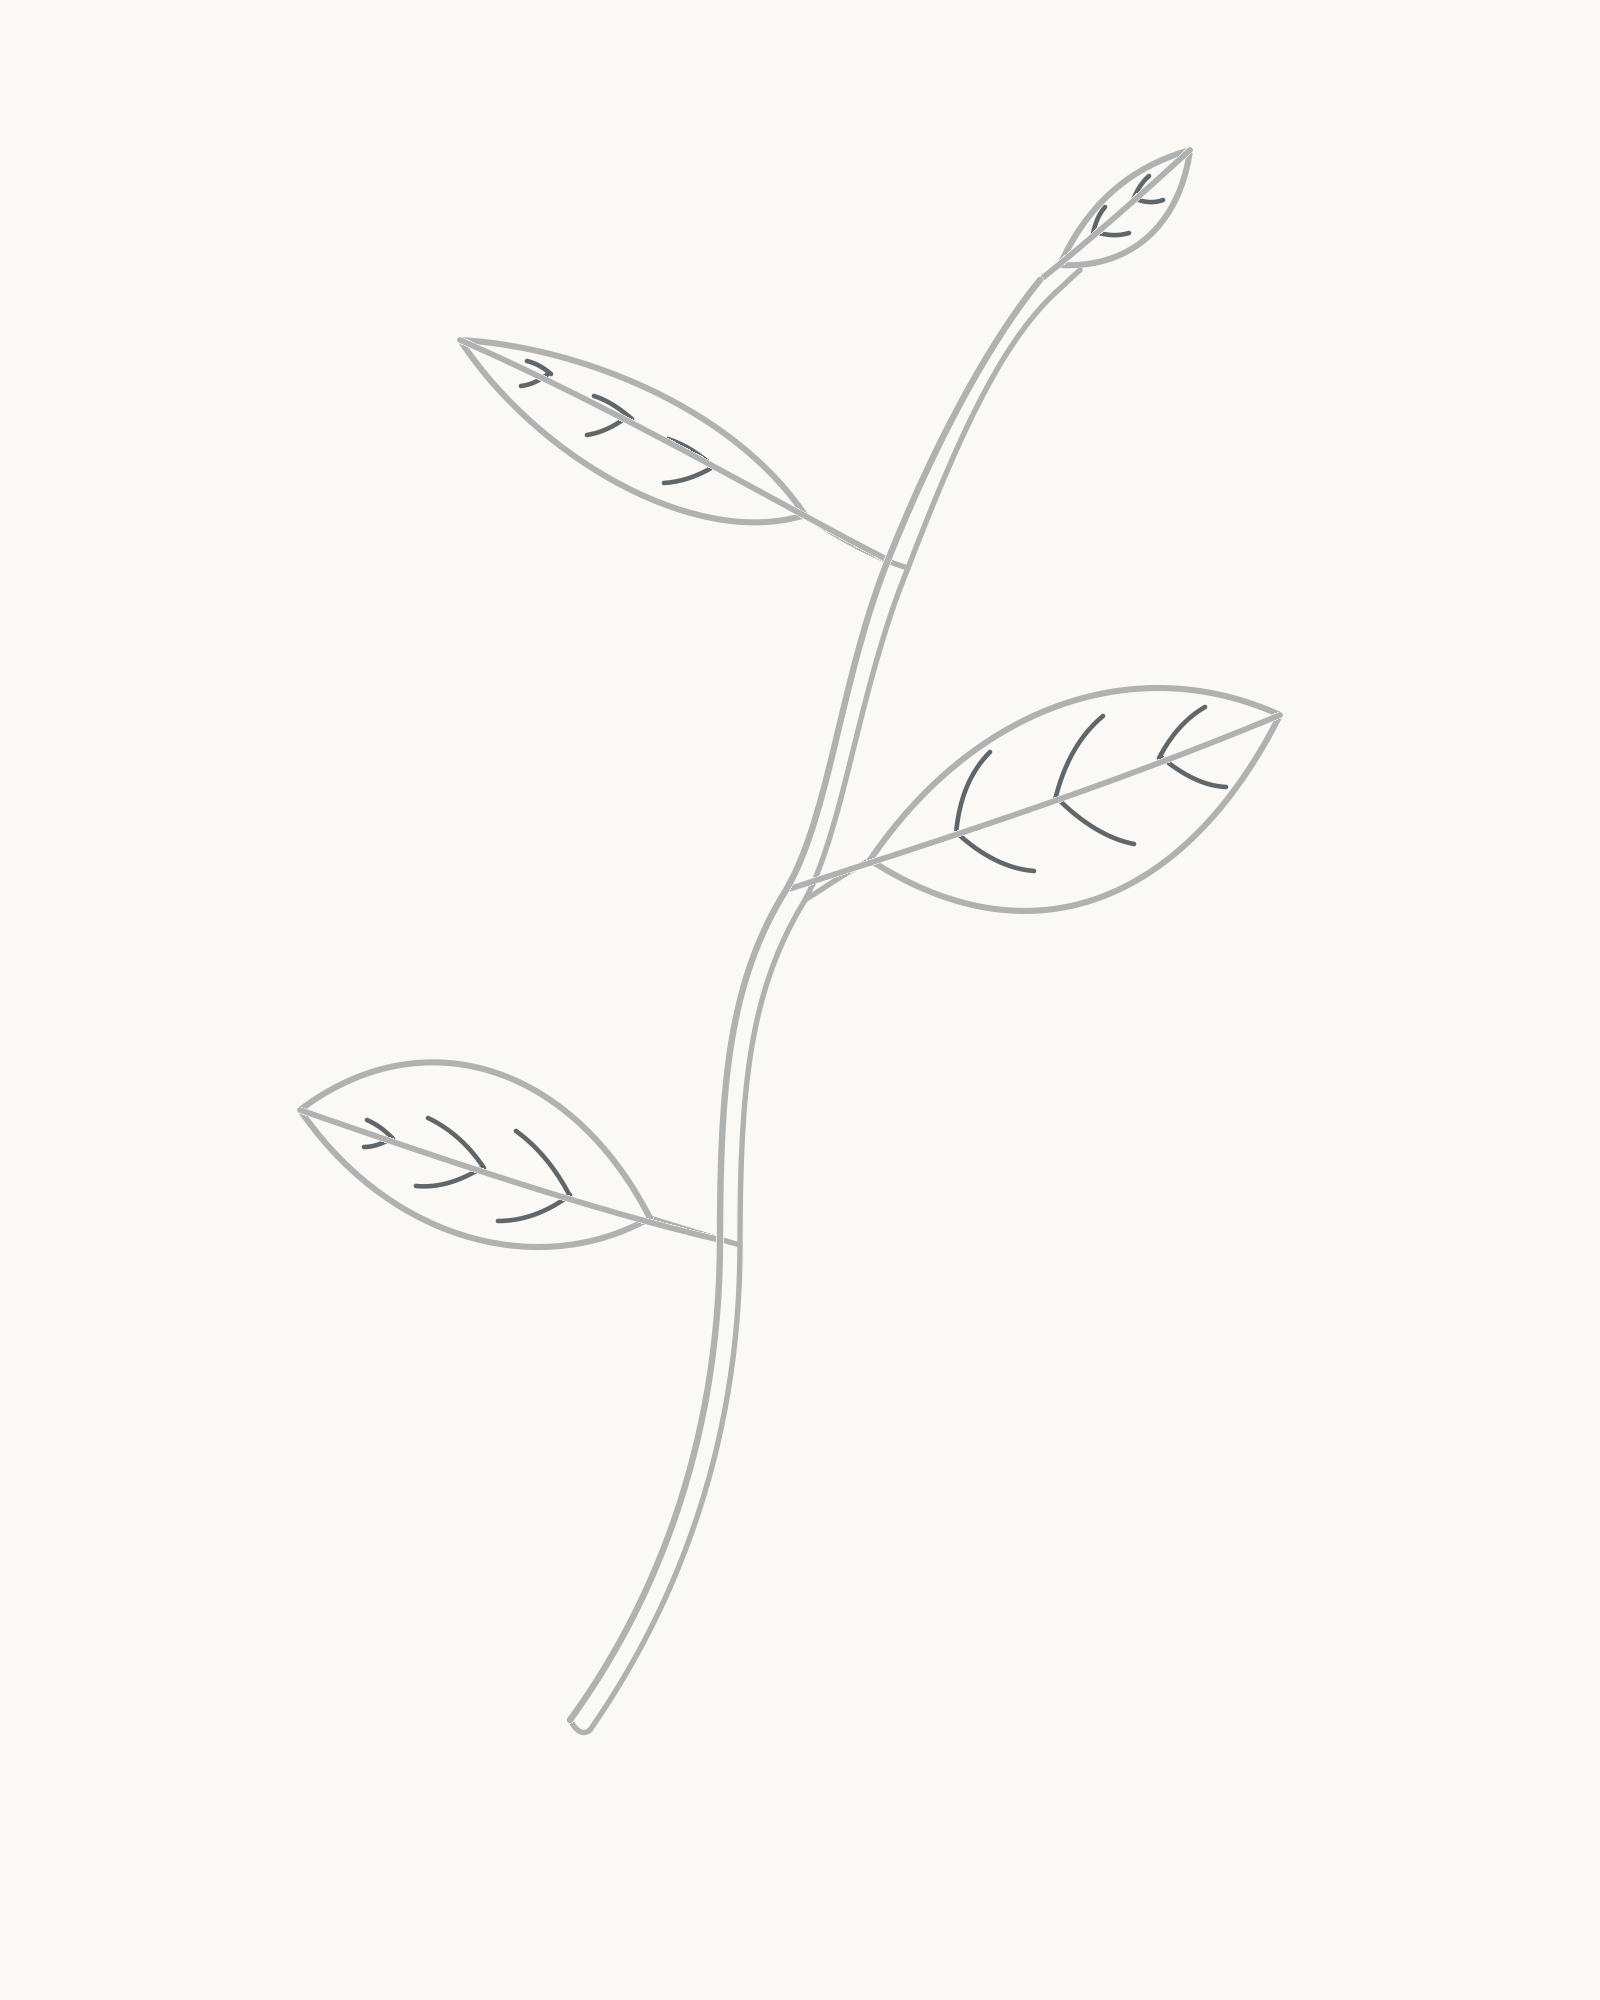
Stage 8 of 8. A few unequal primary veins complete the structure without shading. Add two side-vein pairs to the small terminal leaf and three pairs to each side leaf. Begin every vein on its midrib, curve it generally towards the tip, and stop before it reaches the outer edge. Vary the length, spacing and curve from one mark to the next.
Keep these lines quieter than the outlines and midribs. They describe structure; they are not a decorative fishbone and should not fill every open area. Do not add a secondary network or shade between them.
Look for this before moving on: The terminal leaf has two vein pairs, each side leaf has three, all endpoints remain inside the blades, and open paper still dominates.
If it goes wrong: Remove or shorten only the newest vein that touches an outline, points backwards or repeats its neighbour too closely. Do not darken the blade to hide it.


Common mistakes and small fixes
- The sprig feels stiff. Check the first long curve. On a new attempt, make one gentle change of direction rather than a ruler-straight stem or a chain of small bends.
- The leaves look copied. Compare length, width, angle and widest-point position. Change one of those relationships on the newest blade instead of adding surface decoration.
- A leaf seems pasted onto the twig. Keep its centre line and add or shorten the return edge so a narrow stalk is visible between blade and twig.
- The stalk junctions became black knots. Too many new lines meet in one spot. Lift only the latest return stroke and reconnect it slightly farther along the twig.
- The veins look like a fish skeleton. Use fewer marks, change their spacing and stop them earlier. A clear midrib with a few unequal branches is enough.
- The page feels crowded. On the next attempt, use the Stage 1 cue and stop each Stage 2 line while there is still white space around its future blade.
Practise one leaf at a new angle
Draw a second small leaf beside the finished sprig. Start with one curved midrib pointing down and slightly right instead of upward. Keep a short stalk, build two unequal outer edges around that line, and add only two or three side-vein pairs. The order remains the same even when the direction changes.
Close observation matters more than naming the specimen. Leaf-drawing activities from the North Carolina Museum of Natural Sciences and Cary Institute direct attention to outline, margin and venation. [2][3] University of Minnesota Extension also distinguishes alternate from opposite leaf arrangements and names the petiole as the leaf stalk. [1] For this exercise, ask where the leaf attaches, which way its midrib travels and how its outline differs from its neighbour.
Frequently Asked Questions
What is the easiest way to start drawing leaves?
Draw the direction line before the outer edges. That one permanent line can serve as stalk and midrib, giving the blade a clear base, tip and tilt.
Should I draw the leaf outline or the stem first?
For this sprig, draw the main twig first, then all four attachment-to-tip lines. Close each blade only after its direction and attachment are clear.
How can I make leaf veins look natural?
Use only a few. Start them on the midrib, angle them generally towards the tip, vary their spacing and stop before the outer contour. Avoid identical pairs or a dense secondary network.
Do both sides of a leaf need to be symmetrical?
No. The two sides should meet at the same base and tip, but small differences in fullness and curve help the leaf look observed rather than stamped.
How do I attach a leaf to a branch or twig?
Leave a narrow stalk between the blade and twig. Its centre line should continue into the blade as the midrib, and a short return edge can clarify the tapered connection.
Do I need to shade the leaves?
No. The intended result is a complete line drawing. Keep the blades white and let the outline, midrib, attachment and a few primary veins carry the structure.
References
- Annual broadleaf weeds: vegetative plant parts, University of Minnesota Extension — View source.
- Nature Neighborhood: Leaf Drawing, North Carolina Museum of Natural Sciences — View source.
- Looking Closely at Leaves, Cary Institute of Ecosystem Studies — View source.
More DRAWING Guides

How to Draw a Rose: A Step by Step Guide

How to Draw a Tree: A Step by Step Guide

How to Draw Eyes: A Step by Step Guide

How to Draw Leaves: A Step by Step Guide

How to Draw Autumn Leaves: A Step by Step Guide

How to Draw Flowers: A Step by Step Guide

How to Draw a Lily: A Step by Step Guide

How to Draw a Sunflower: A Step by Step Guide

How to Draw a Tulip: A Step by Step Guide

How to Draw a Hibiscus: A Step by Step Guide

How to Draw a Daisy: A Step by Step Guide
