 by Tom Gurney
Tom Gurney BSc (Hons) is an art history expert with over 20 years experience
Page created on September 3, 2026 / Page updated on September 13, 2026
Email: tomgurney1@gmail.com / Phone: +44 7429 011000
From One Project to a Safe, Testable Starter System
The best beginner art materials are not a universal box of supplies. They are a small group of compatible things chosen for one kind of work: a medium that makes the mark, a support that can receive it, a tool that handles it, and a safe plan for setup, cleanup and storage.
Starting this way prevents two common problems. The first is buying many materials before you know what they do. The second is combining a paint, paper or tool simply because each item was separately described as suitable for artists. Compatibility belongs to the system, not to a label such as “beginner,” “student” or “professional.”
At a Glance
- Start with a projectdefine what you want to make before choosing supplies.
- Choose one mediumlearn one material family well enough to recognise its limits.
- Match the supportpaper, canvas, panel and other surfaces change handling and durability.
- Choose tools by taskselect for the mark, coverage or control required rather than an arbitrary list.
- Check the labelsetup, cleanup, storage, ventilation and age suitability belong to the material system.
Contents
- From One Project to a Safe, Testable Starter System
- 1. Begin with one project
- 2. Choose one medium family
- 3. Match the support
- 4. Choose a tool by task
- 5. Plan setup, cleanup and storage
- Three compact starter examples
- How to read safety labels
- Student grade, artist grade and value
- A simple expansion rule
- Art Materials reference pages
- Watch Art Materials for Beginners in Practice
This guide gives you a method rather than a shopping list. It works with locally available products, different budgets and regional terminology because it asks stable questions about function, safety and testing.
The five-part starter system
Choose the parts in order: project, medium, support, tool, then cleanup and storage. Test the complete combination on a labelled scrap before relying on it for a finished work. Getty's cataloguing guidance similarly separates medium, support, technique and implement; those roles are more informative than a flat list headed “supplies.”[1]
The diagram is a planning loop, not a claim that every art form uses five separate objects. A pencil is both a held tool and the source of its graphite mark. A brush and paint are distinct. A collage may use several supports and adhesives. The purpose of the loop is to make each role explicit before you add complexity.
1. Begin with one project
“I want to make art” is too broad to determine materials. “I want to make small monochrome drawings in a sketchbook” is specific enough. So is “I want to make transparent watercolour studies at a table” or “I want to learn opaque painting on prepared board.”

A varied brush collection can look inviting, but a beginner needs only the tools required by one defined project. Photograph by Si Griffiths via Wikimedia Commons, CC BY-SA 3.0; resized without cropping.
Name the scale, location and basic result. A portable sketching project has different needs from a large studio canvas. A wet material needs water or another approved cleanup method, a place to dry and protection for the working surface. A dry medium may create dust or transfer unless it is stored carefully.
Choose one project family for the first tests. You are not committing to it forever. You are creating a controlled way to learn which variable caused a useful or disappointing result.
2. Choose one medium family
For drawing, a graphite pencil and suitable paper form a complete starting point. Adding an eraser and sharpener may improve control, but a dozen grades are not required to discover pressure, line and value. Drawing Mediums explains how graphite, charcoal, ink and pastel differ.
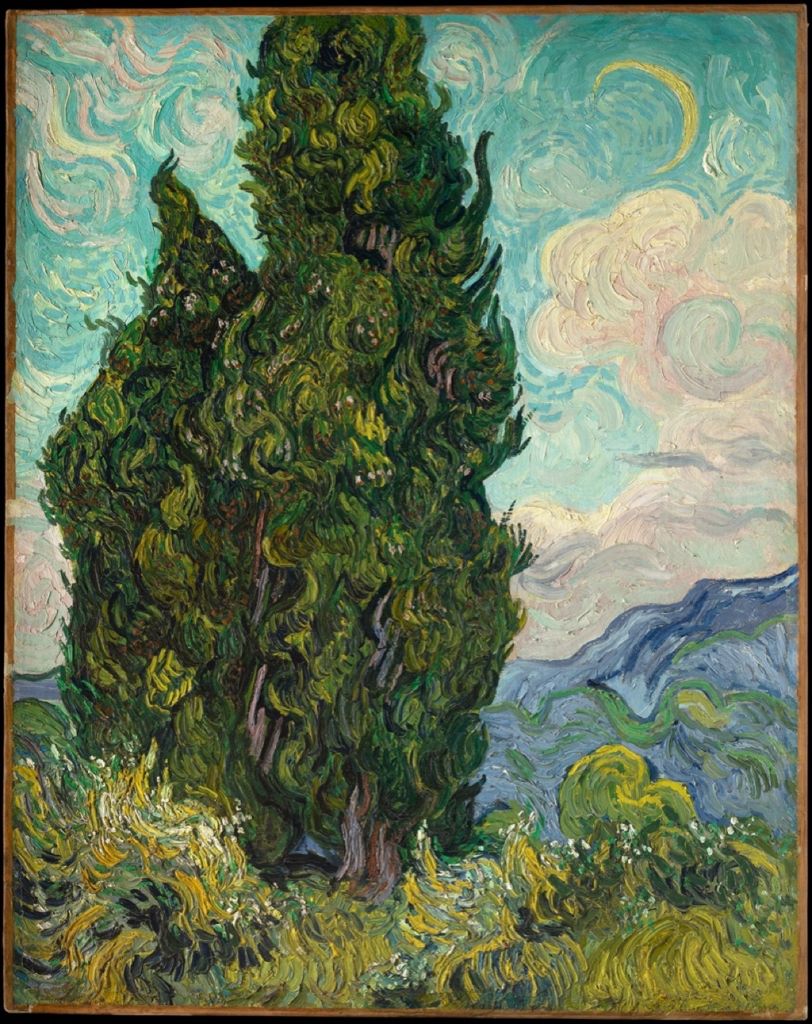
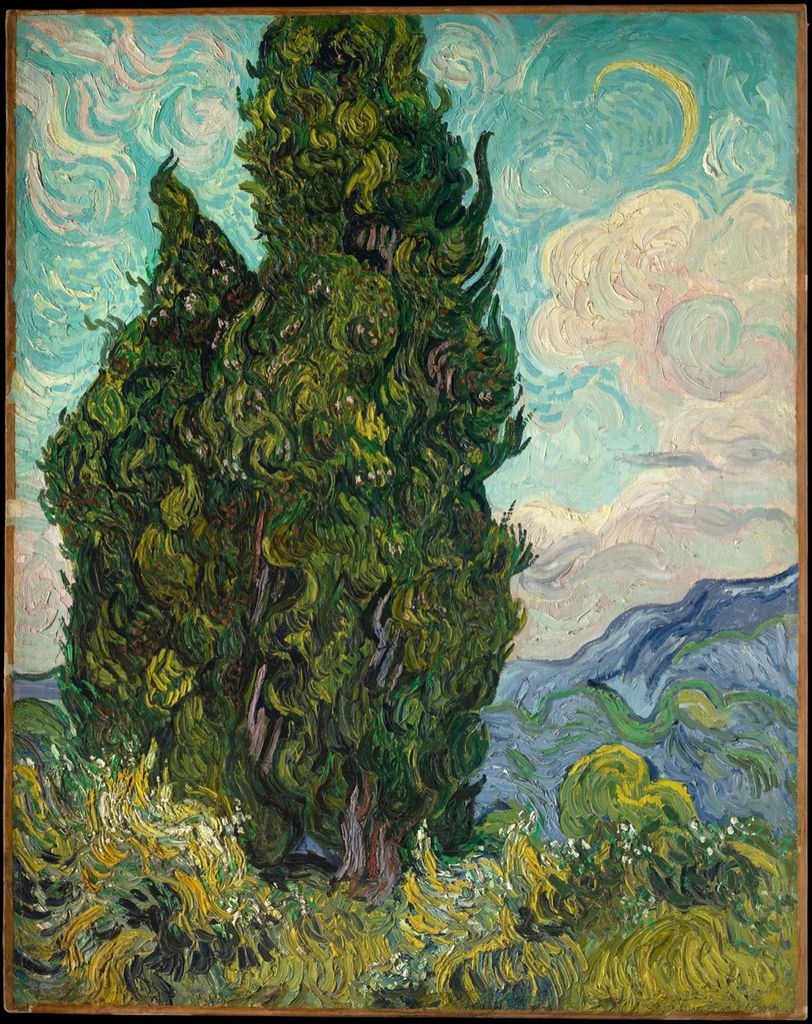
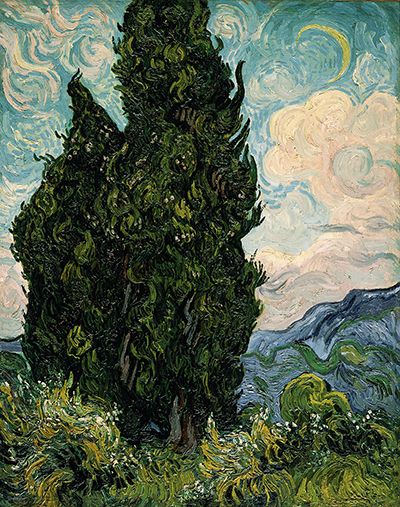
Vincent van Gogh, Cypresses, 1889. Oil on canvas. A familiar medium name still describes a complete working system of paint, support, preparation, tools and cleanup. Image: The Metropolitan Museum of Art, Open Access, public domain.
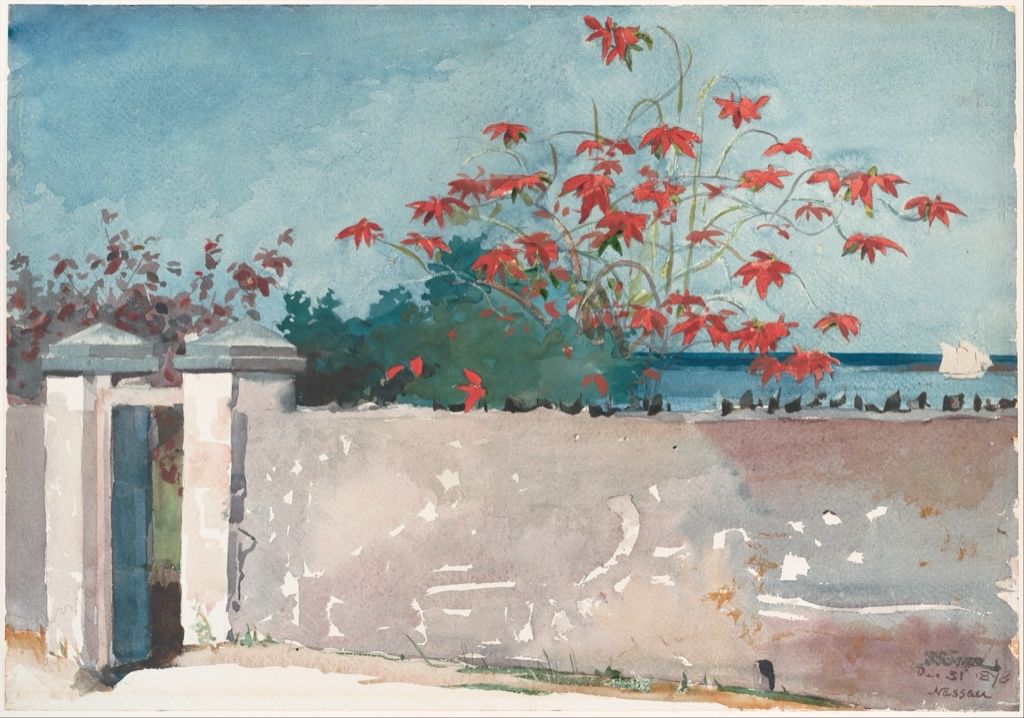
Winslow Homer, A Wall, Nassau, 1898. Watercolour and graphite on paper. Water-based does not mean support-free: paper weight, sizing, surface and water response belong to the choice. Image: The Metropolitan Museum of Art, Open Access, public domain.
For painting, choose a water-based or other medium whose current label, ventilation and cleanup requirements fit your space. Watercolor, gouache, acrylic, tempera and oil are not interchangeable simply because all can be brushed. Their binders, drying behaviour, opacity and support requirements differ. Use Art Mediums for the historical and visual distinctions.
Avoid building a first system around unlabelled powders, decanted solvents or materials whose instructions you cannot understand. “Natural” does not mean harmless, and a familiar colour name does not reveal a formulation.
3. Match the support
The support must tolerate the medium and the way you apply it. Ordinary thin paper may buckle or break down under repeated wetting. A very smooth sheet may not hold a dusty drawing material as expected. A raw textile and a prepared painting canvas are not the same working surface.
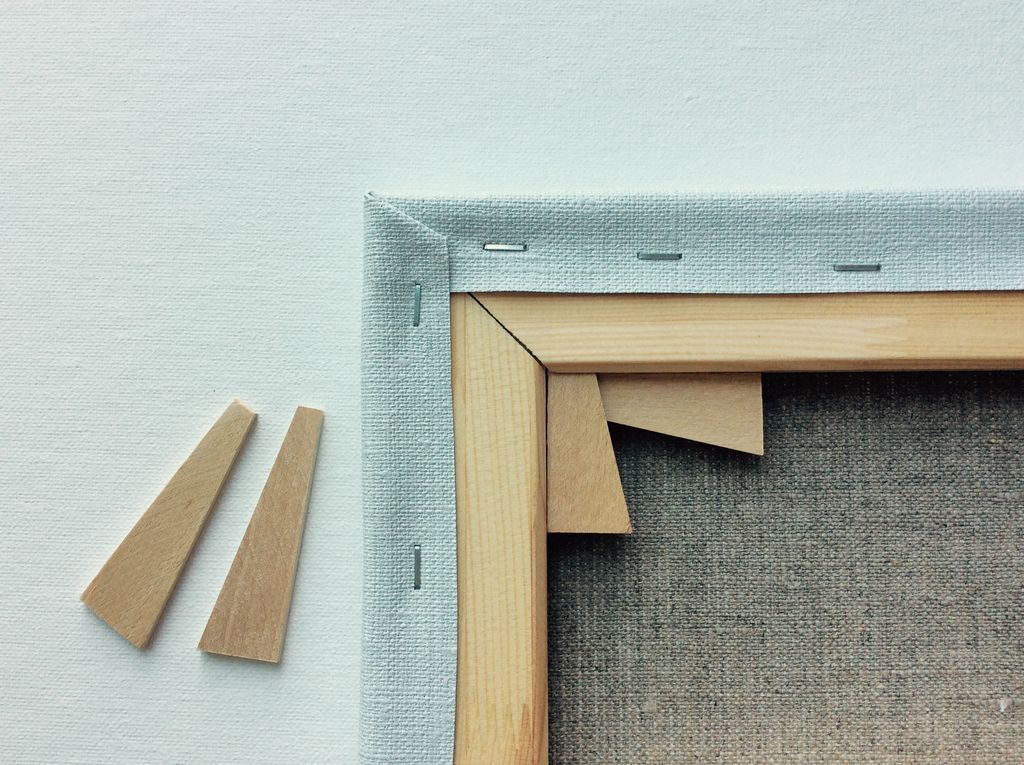
The back of a stretched canvas reveals that “canvas” includes fabric, attachment, wooden bars and sometimes keys for controlled adjustment. Photograph by JohanahoJ via Wikimedia Commons, CC BY-SA 4.0; resized without cropping.
Read the support label for intended media, weight or thickness, surface and preparation. Treat those claims as product-specific rather than universal. When possible, buy or cut a modest format that encourages several tests. A large or prestigious surface cannot compensate for an incompatible material system.
Keep offcuts and failed trials. Label them with the material, date and any dilution or preparation you used. An open educational drawing text recommends experimenting with materials and labelling the marks so the result becomes a personal reference sheet.[2] The same principle works for paint, paper and brushes.
4. Choose a tool by task
A tool should fit the scale and behaviour of the chosen material. For a small drawing, one pencil or pen may be enough. For a water-based painting, a general-purpose brush that holds an appropriate amount of liquid can reveal more than a large assortment whose differences you do not yet understand.
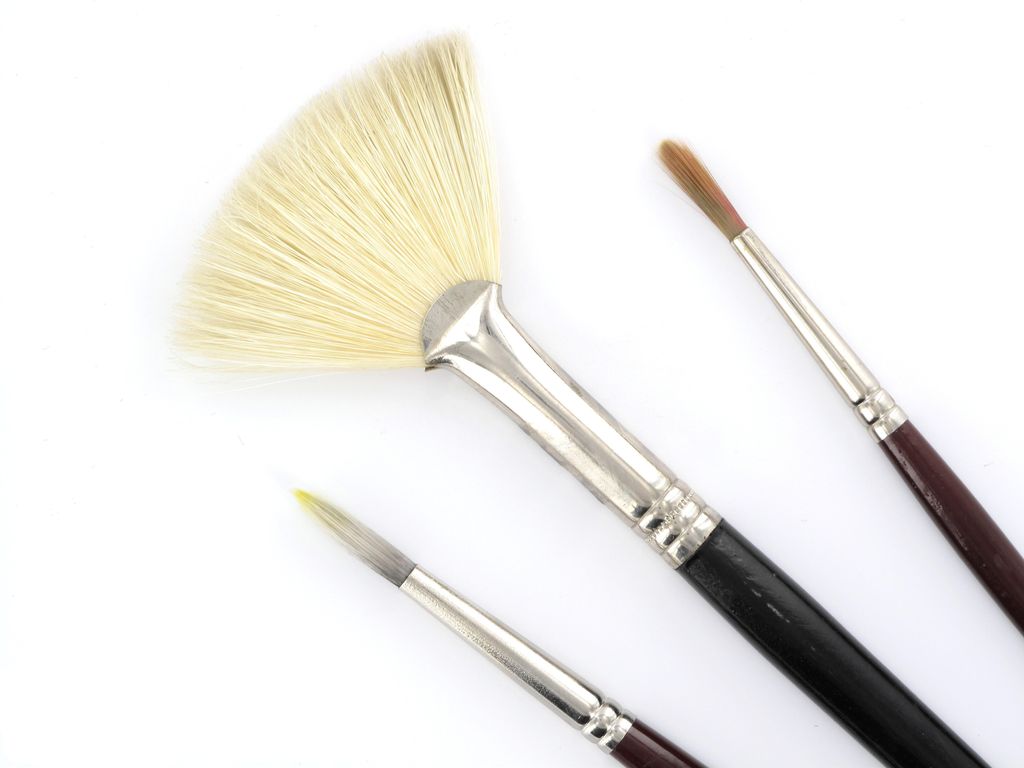
Different brush profiles hold and release paint differently. Choose a shape because its mark solves a task, then test it with the intended paint. Photograph by Creative Tools via Wikimedia Commons, CC BY 2.0; resized without cropping.
Choose by the mark you need: broad coverage, a controlled edge, a line, lifting, blending or scraping where the material permits it. Brush shape names and size numbers vary by maker, so compare the actual width, length, spring and capacity rather than assuming two matching numbers are equivalent.
Add a second tool only when the first creates a repeated limitation you can name. “I cannot cover this area before the wash dries” is evidence for a larger brush. “A list says I need six brushes” is not.
5. Plan setup, cleanup and storage
The overlooked parts of a starter system are often the most important. Protect the table or floor as the product requires. Provide water containers, wiping material or approved cleanup supplies that cannot be confused with food equipment. Give wet work a stable drying place. Keep original packaging so that instructions, ingredients, warnings and emergency information remain available.
Health Canada advises users to follow the actual label, keep materials in original containers, work with appropriate air circulation, keep art materials away from food and drink, wash after use and follow local disposal guidance.[4] Protective equipment and ventilation depend on the process; do not improvise a respirator, glove or solvent rule from a generic internet list.
Store tools clean and dry where appropriate, protect brush tips from being crushed, and keep papers flat or otherwise supported. Separate wet, dusty and sharp processes. Child and pet access must be considered before leaving a setup in place.
Three compact starter examples
Graphite drawing
Choose a sketchbook or loose drawing paper, one mid-range graphite pencil, a sharpener and an eraser if you want reversible lightening. Test pressure, broad side strokes and fine lines. Label the page with the pencil grade. Add softer or harder graphite only when you can describe the range you are missing.
Transparent watercolor
Choose a small set of clearly labelled watercolor paints, watercolor-suitable paper, one versatile brush, a mixing surface, two water containers and absorbent wiping material. Test a flat wash, a darker mixture and lifting on the exact paper. Do not assume that white paper, white paint and gouache serve the same role; use the Watercolor Painting guide for the medium boundary.
Opaque water-based painting
Choose a clearly labelled opaque water-based paint family, a supported paper or prepared board intended for it, one general brush and the cleanup materials specified by the maker. Test thin and opaque applications, drying shift and reworking. Gouache, acrylic and tempera may all be opaque, but they form and redissolve differently; do not mix their care rules together.
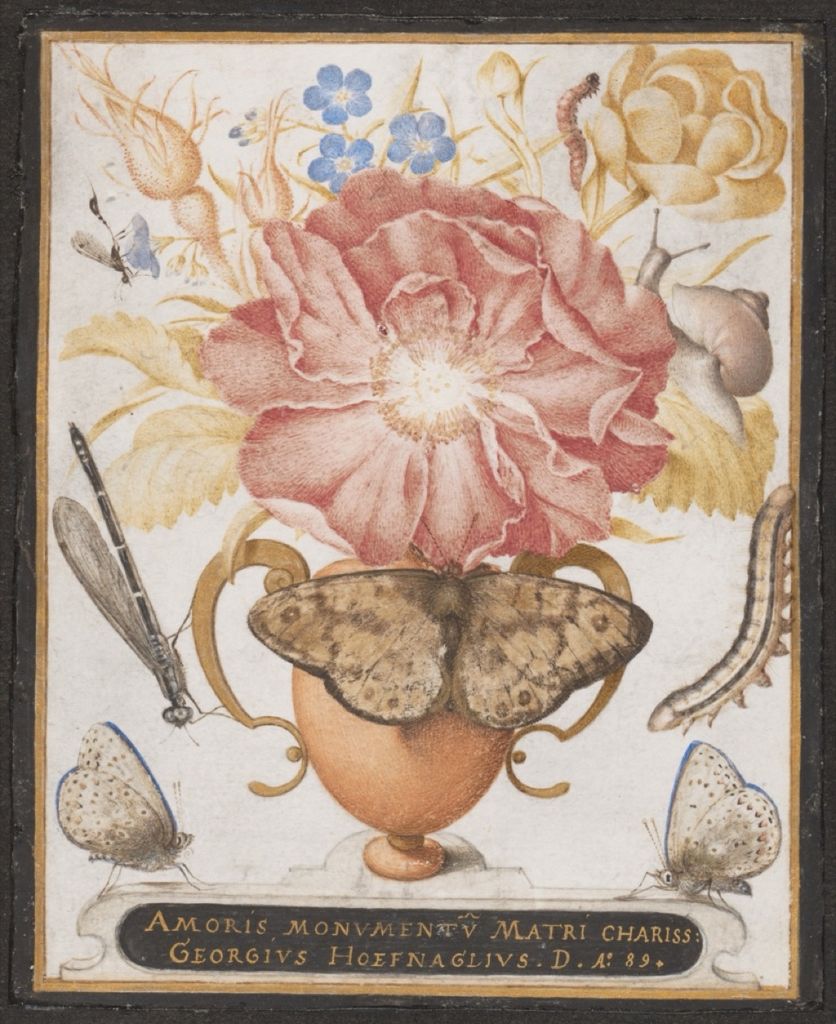
Joris Hoefnagel, Still Life with Flowers, a Snail and Insects, 1589. Watercolour, gouache and gold on vellum. Even an apparently compact water-based example may combine several materials, so labels and supports should be read precisely. Image: The Metropolitan Museum of Art, Open Access, public domain.
These examples are deliberately small. They show how a system works without declaring particular brands, colours, dimensions or brush numbers essential.
How to read safety labels
In the United States, consumer art materials are subject to toxicological review for potential chronic hazards and appropriate labelling under the Labeling of Hazardous Art Materials Act and related rules. A statement such as “Conforms to ASTM D-4236” indicates conformance with the review and labelling practice; it does not mean that every use is safe or that instructions can be ignored.[3]
The Art & Creative Materials Institute uses AP and CL certification marks. AP identifies products certified as non-injurious when used as intended; CL identifies products that require cautionary labelling for safe use. The current product label, intended age group and local regulation still govern the decision.[5]
Standards and marks differ by country. In every region, read the complete current label before purchase and again before use. If a process creates airborne dust, spray, fumes, heat or sharp fragments, seek process-specific official guidance rather than extending this beginner framework into technical safety advice.
Student grade, artist grade and value
Grade labels can indicate differences in pigment load, colour range, binder, fillers, consistency or quality control, but they are not a single regulated ladder across every material and manufacturer. A less expensive product may be entirely suitable for repeated practice; a more expensive one may solve a specific limitation. Neither price nor the word “professional” proves compatibility with your support or space.
Compare documented properties that matter to your project. For paint, that may include opacity, lightfastness information, binder family and cleanup. For paper, it may include fibre, sizing, weight and surface. For brushes, it may include dimensions, fibre, spring and construction. Buy the smallest change that lets you test the property you actually need.
A simple expansion rule
After several sessions, review your labelled tests. Keep what supports the work. Replace only what fails through damage, incompatibility or a clearly observed limitation. Add one variable at a time, then test again.
This approach turns a starter kit into knowledge rather than clutter. It also makes future technical guides more useful: canvas sizes, paper weights, brush shapes and paint components become answers to questions you have already encountered, not names on an endless shopping list.
Watch: Understanding Materials before Buying More
Begin with what paint is, then see how museum evidence connects tools, support, preparation and paint in complete material systems.
Paint
Start with a concise explanation of paint as a combination of material and application.
Watch on YouTubeFrequently Asked Questions
Begin with one defined project, one medium family, a compatible support, the minimum tools needed for the intended marks, and the required setup, cleanup and storage supplies.
No. A compact, documented set makes cause and effect easier to see and should expand only when repeated tests reveal a specific limitation.
It indicates review and labelling for chronic hazards under the applicable US standard; it does not replace the actual instructions, age guidance or local safety rules.
Not automatically. Grade labels are not perfectly standardised, so compare the documented pigment, binder, lightfastness, handling and purpose rather than relying on a tier name alone.
Use labelled scraps or swatches, change one variable at a time, record the support and material names, and compare the fully dried result.
Discussion
Which repeated limitation in a small starter system would justify adding one new material or tool?
Reader Insights
A project defines the useful medium, support and tool.
One changed variable teaches more than a large unsorted set.
Read current labels, retain original containers and follow local guidance.
Join the Conversation
Share one precise observation or a useful museum example below.
References
- Getty, “Materials/Techniques,” Categories for the Description of Works of Art. https://www.getty.edu/publications/categories-description-works-art/categories/object-architecture-group/7/
- Palomar College, “Introduction and Materials,” Foundations of Drawing. https://pressbooks.palomar.edu/art102/chapter/introduction-and-materials/
- U.S. Consumer Product Safety Commission, “Art Materials Business Guidance.” https://www.cpsc.gov/old/Business--Manufacturing/Business-Education/Business-Guidance/Art-Materials
- Health Canada, “Use arts and crafts materials safely.” https://www.canada.ca/en/health-canada/services/home-garden-safety/use-arts-crafts-materials-safely.html
- Art & Creative Materials Institute, “Classroom Art Materials Safety.” https://www.acmiart.org/classroom-art-materials-safety